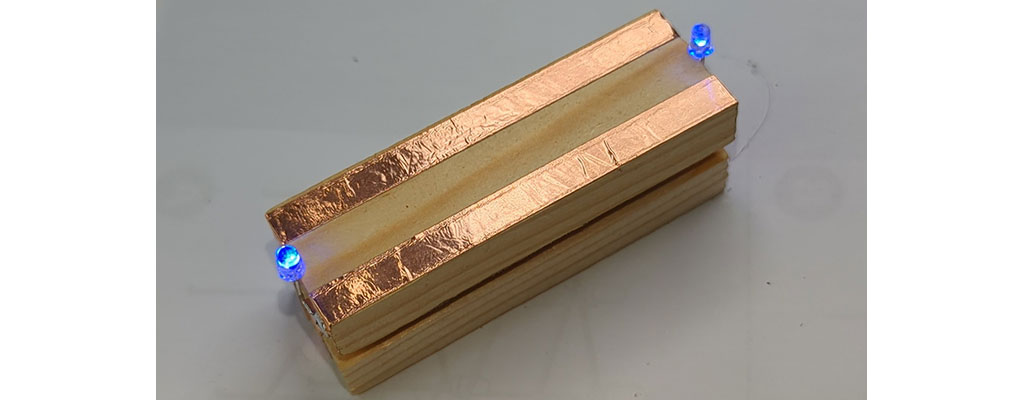
Here a simple and somewhat useless project. Some wooden blocks, LED’s and copper tape. Maybe you can make somebody happy with it. Just two joints to solder.
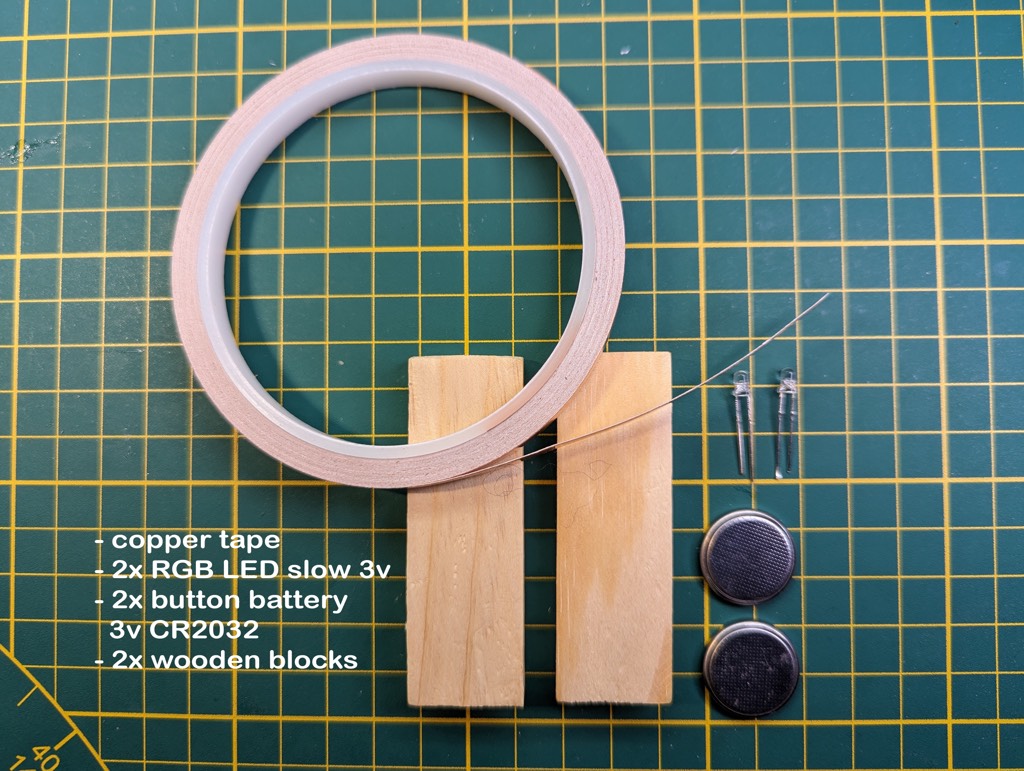
Used materials:
- copper tape 5mm
- 2x 3mm rgb slow flash LED, 3v
- 2x cr2032 3v button battery
- 2x wooden blocks
- and of course a soldering iron with some solder, and other tools….
Circuit
The copper tape conducts electricity from the battery to the LED. The battery has a positive and a negative side. Often the positive side is marked with a ‘+’ sign. The LED also has a positive leg (long) and negative leg (short).
Step by step instructions
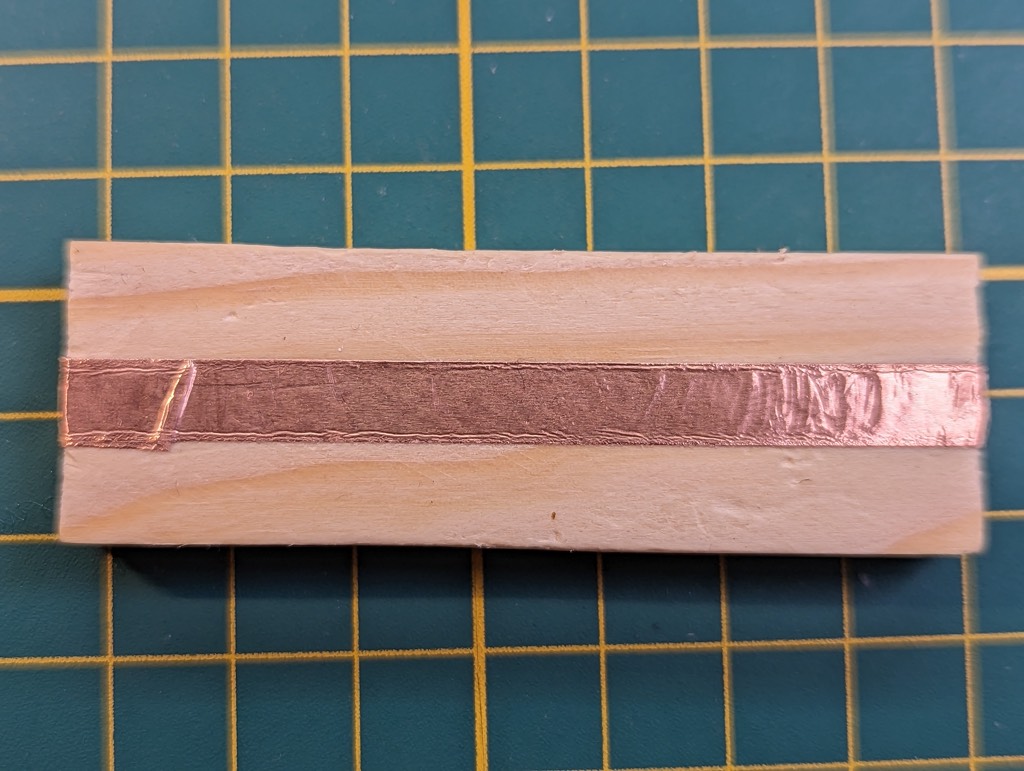
Wrap copper tape around the first block in the middle
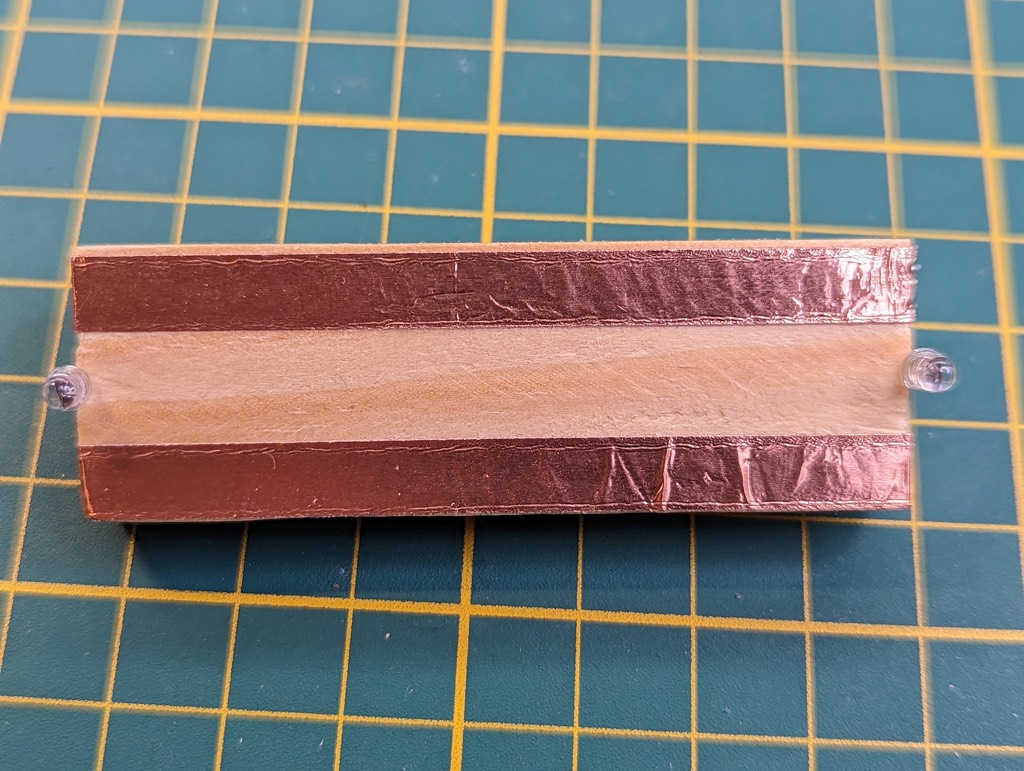
Wrap copper tape around the edges of the second block
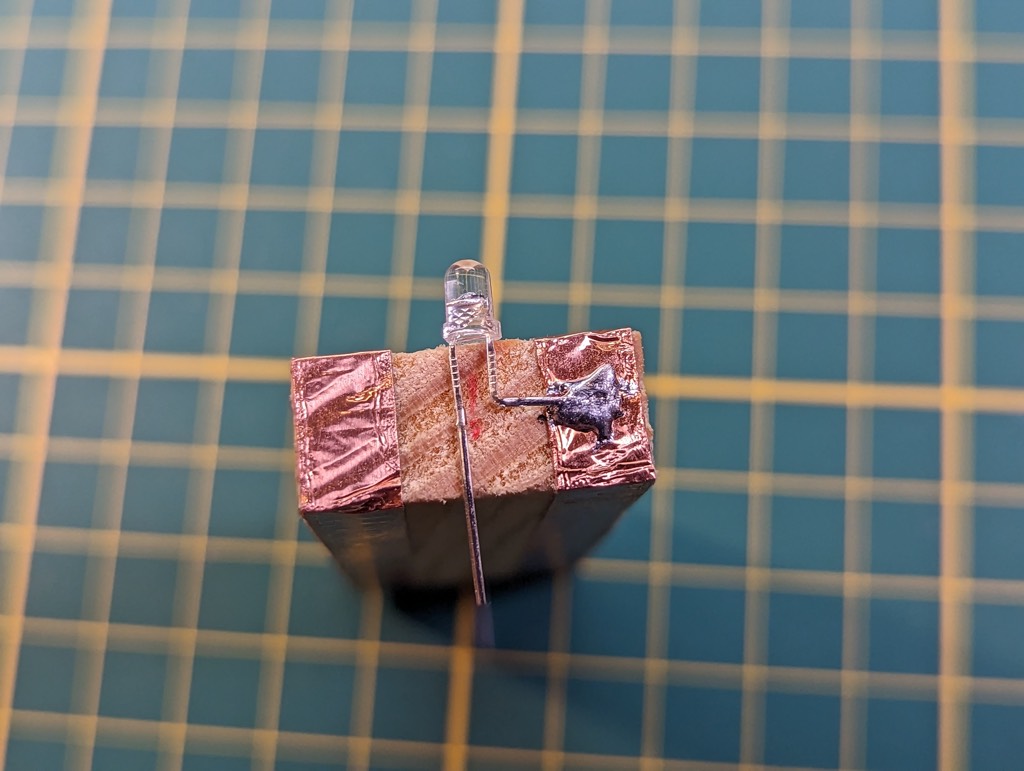
Cut, bend and solder the long leg (anode) of the LED. Repeat on the other side.
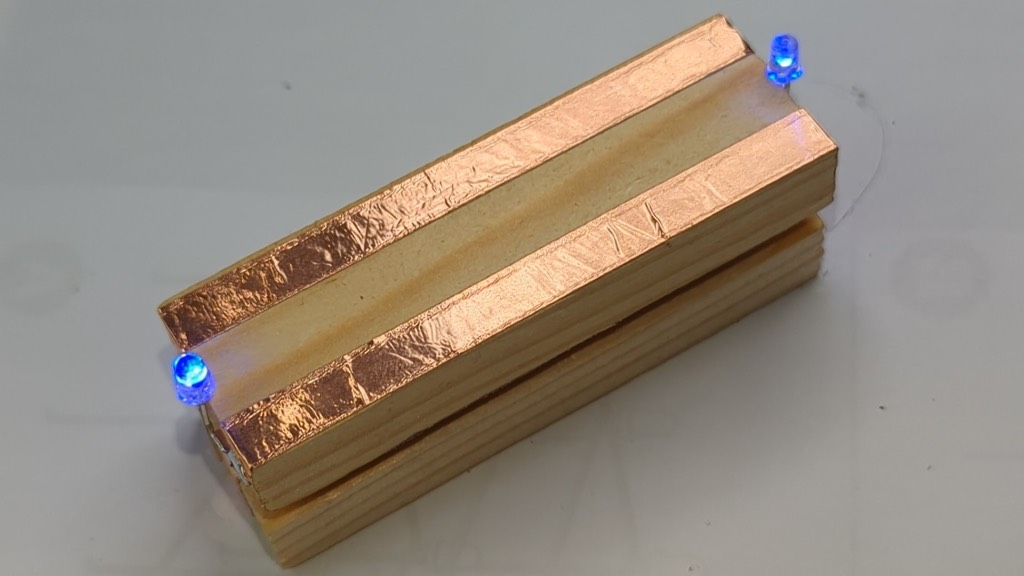
Assemble: put on the first block (with one copper lane) the two batteries, negative side down onto the copper lane. Then place the second block on top, you might have to adjust the leg of the LED a bit to make contact with the lower blocks copper lane.
When finished, see the other object. Or check my youtube channel