A LED lantern made from a matchbox. More than easy soldering project where the object is a lantern hanging on two matches. It’s fed by some copper wire and a button battery.
and of course a soldering iron with some solder, and other tools….
Circuit
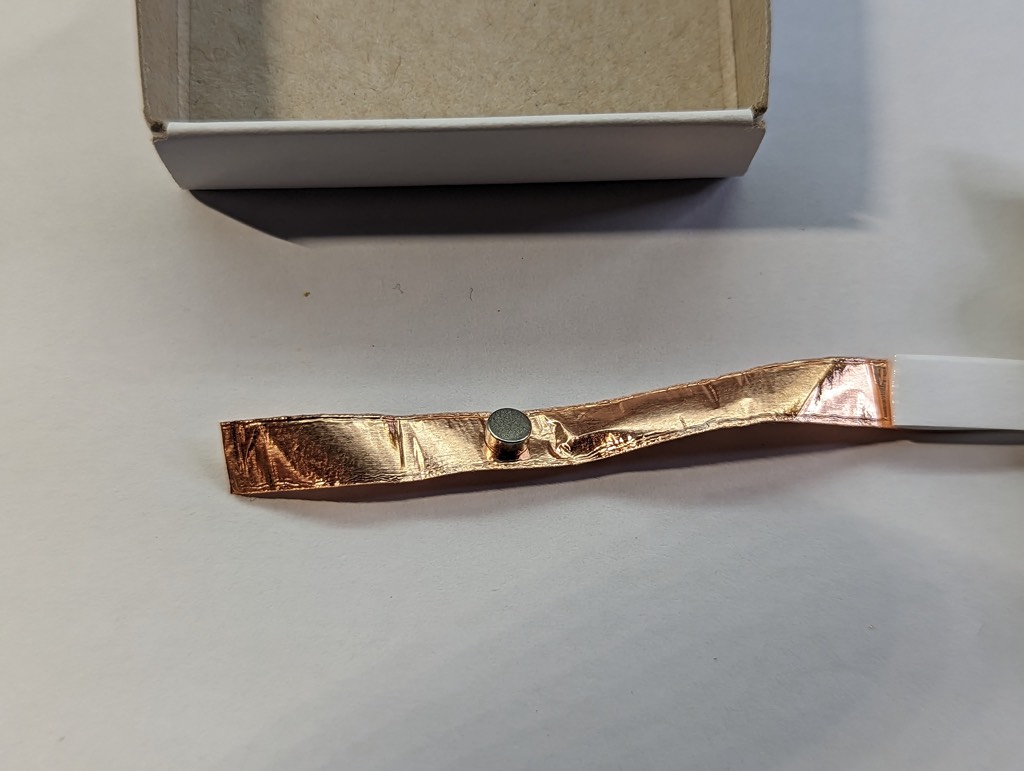
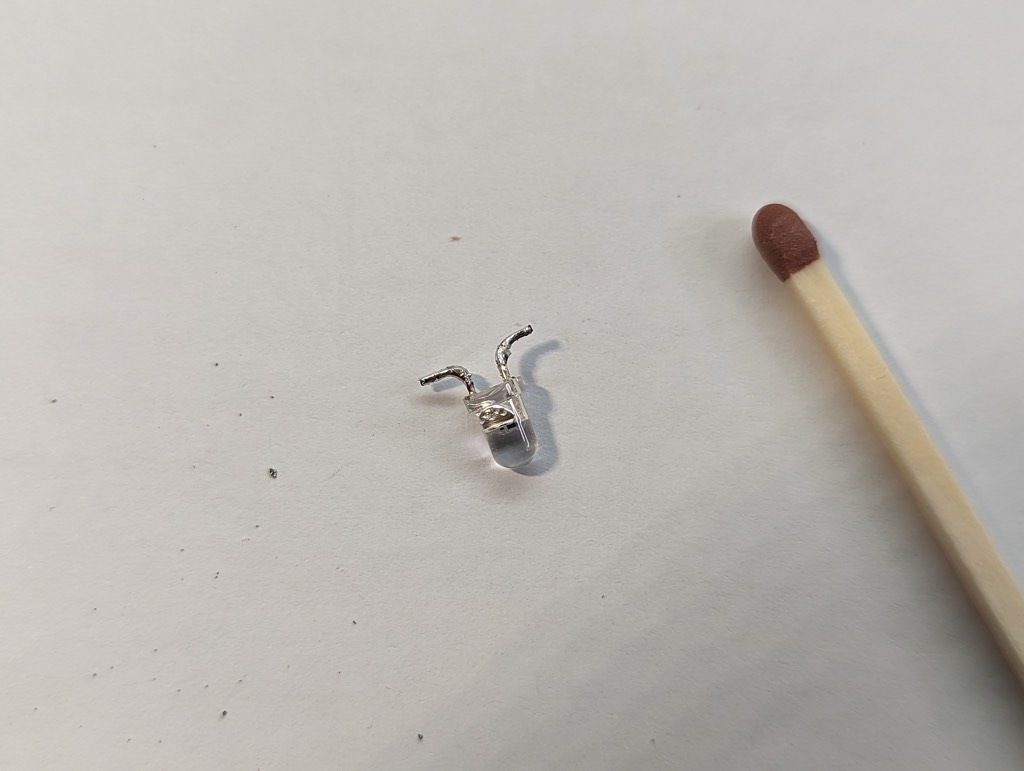
The copper tape conducts electricity from the battery to the LED. The battery has a positive and a negative side. Often the positive side is marked with a ‘+’ sign. The LED also has a positive leg (long) and negative leg (short). Two matches are used as poles. The battery is locked in between two neodymium magnets and some copper tape, so you can replace the battery when needed.
Step by step instructions
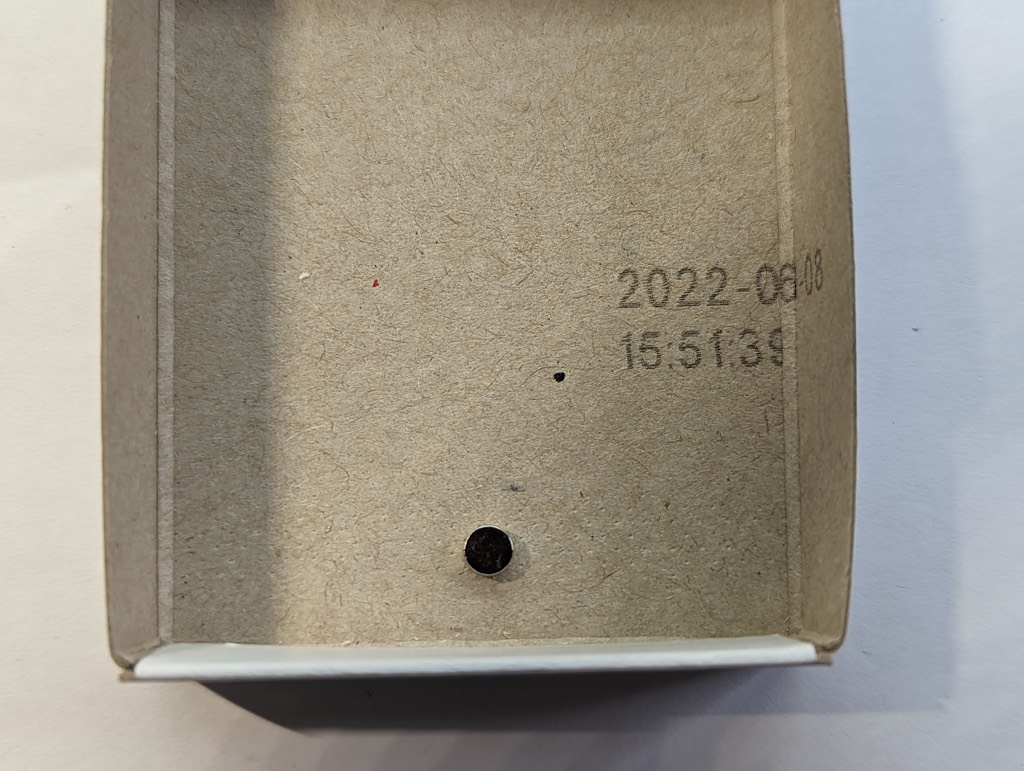
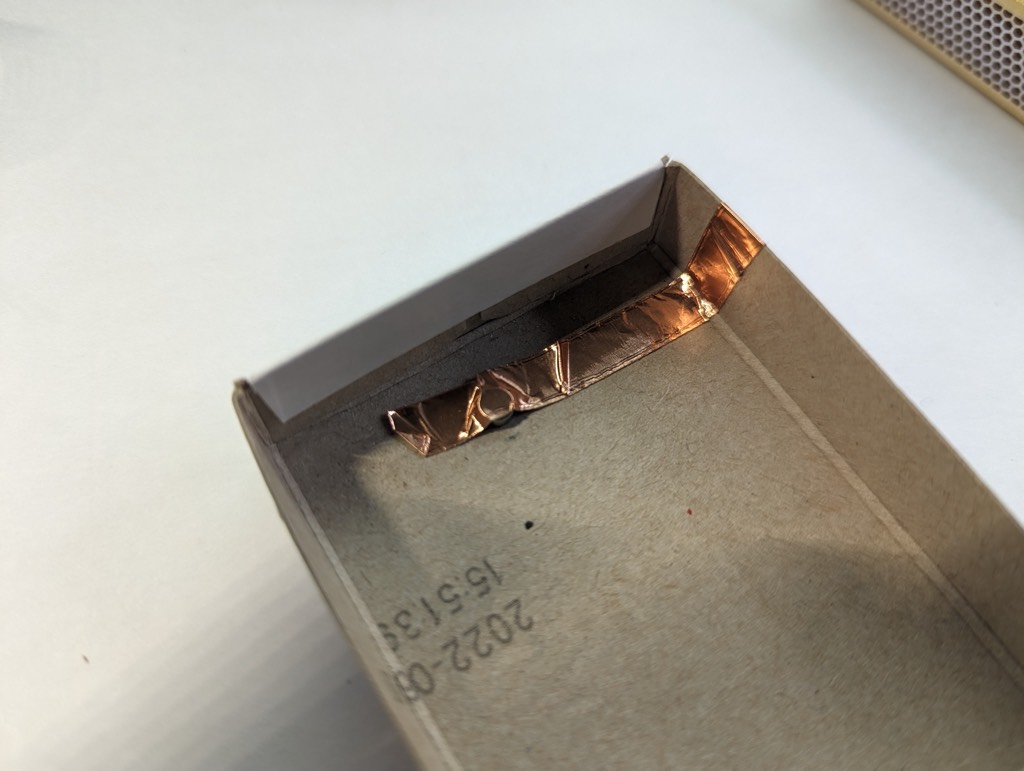
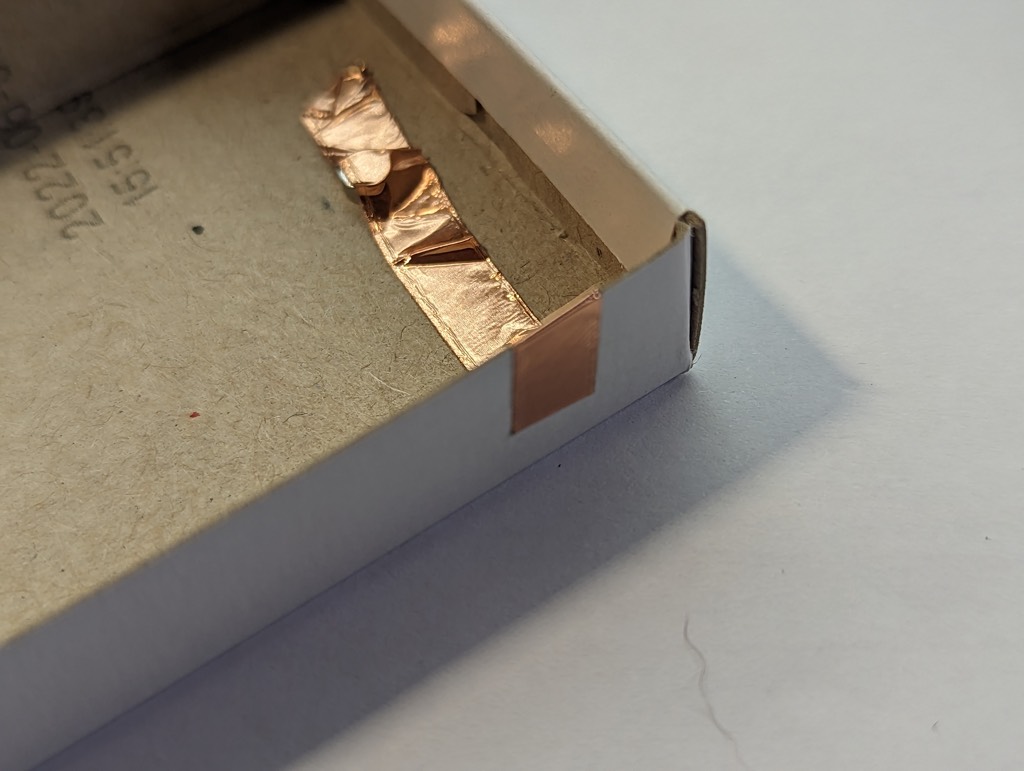
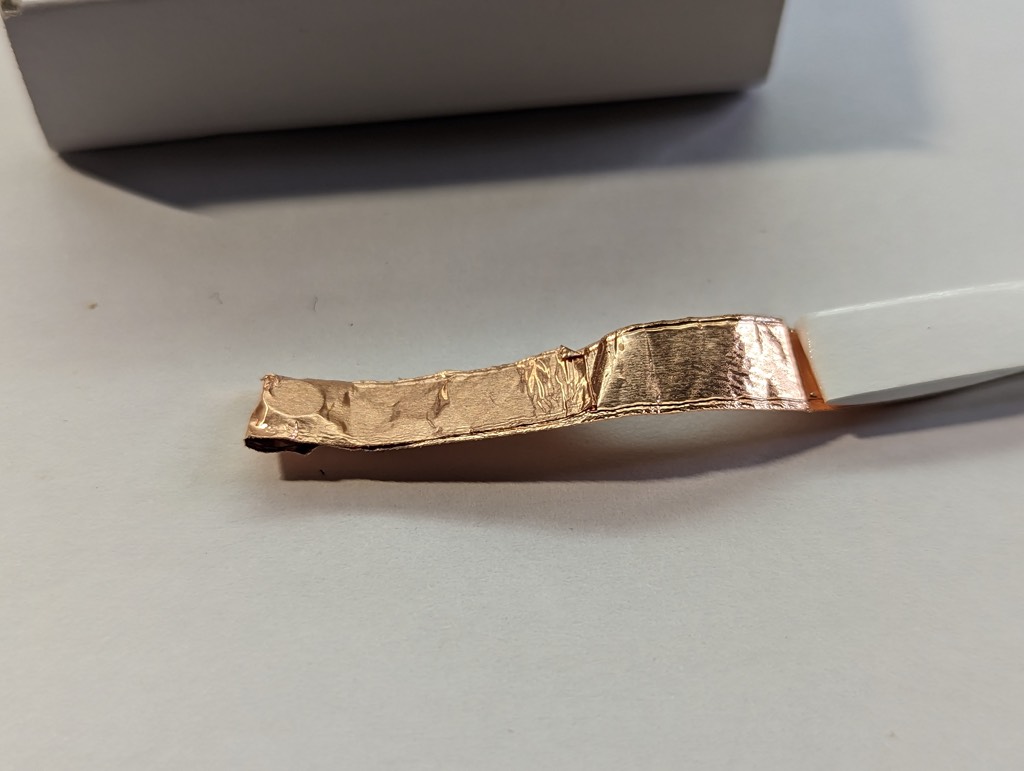
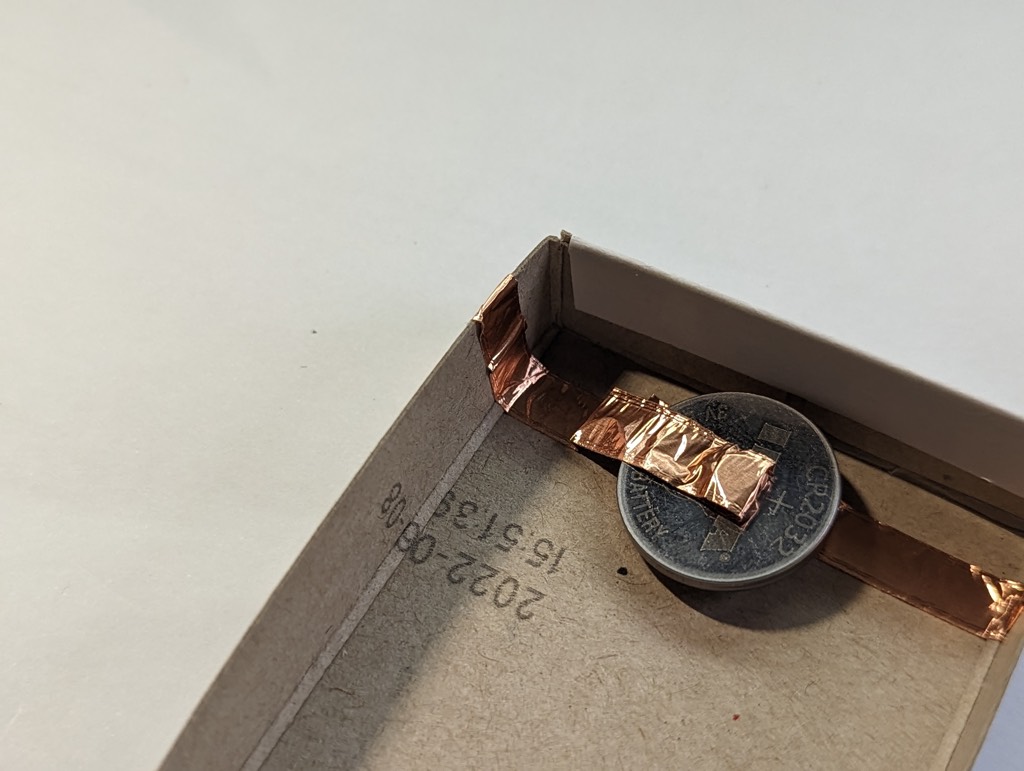
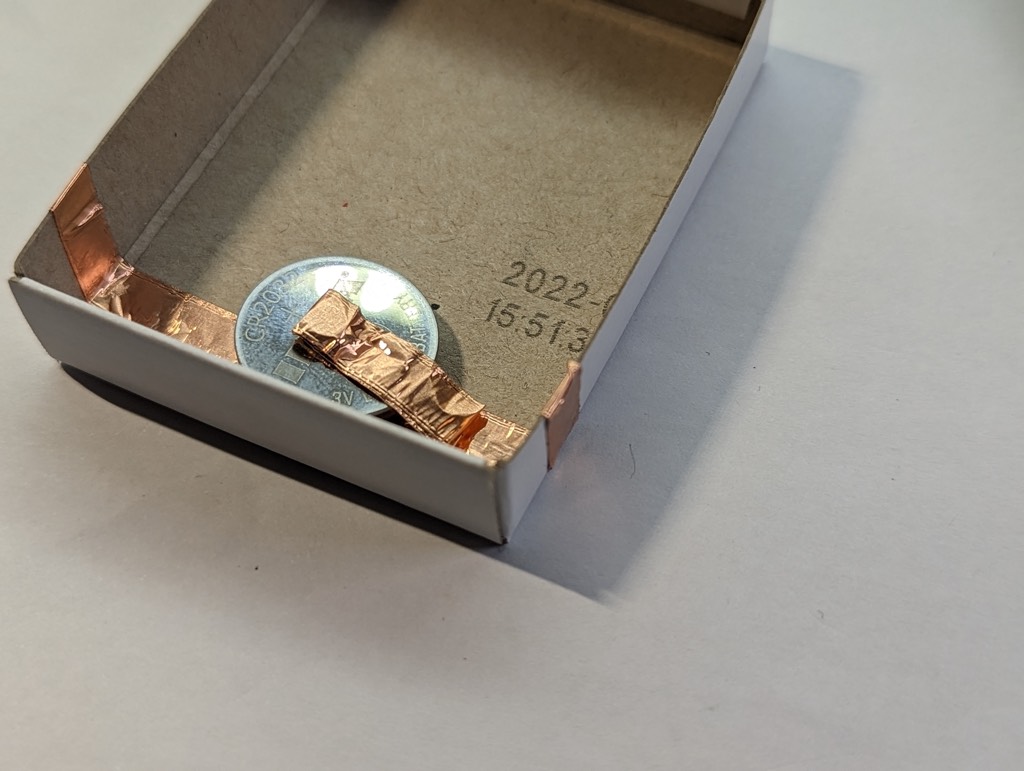
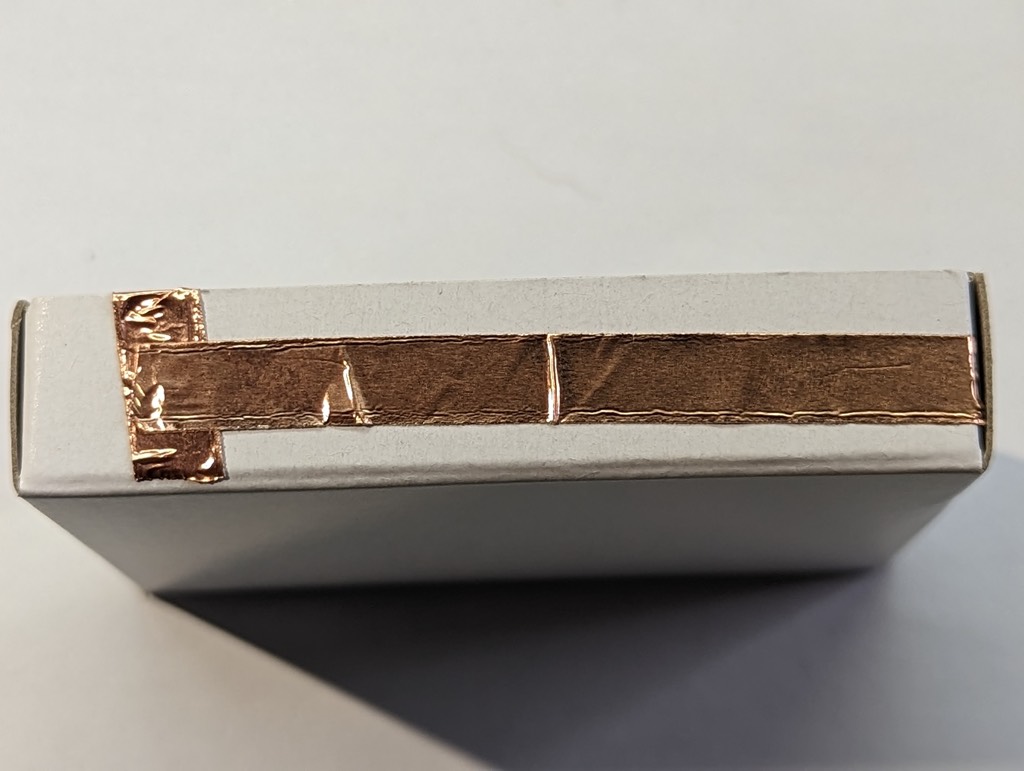
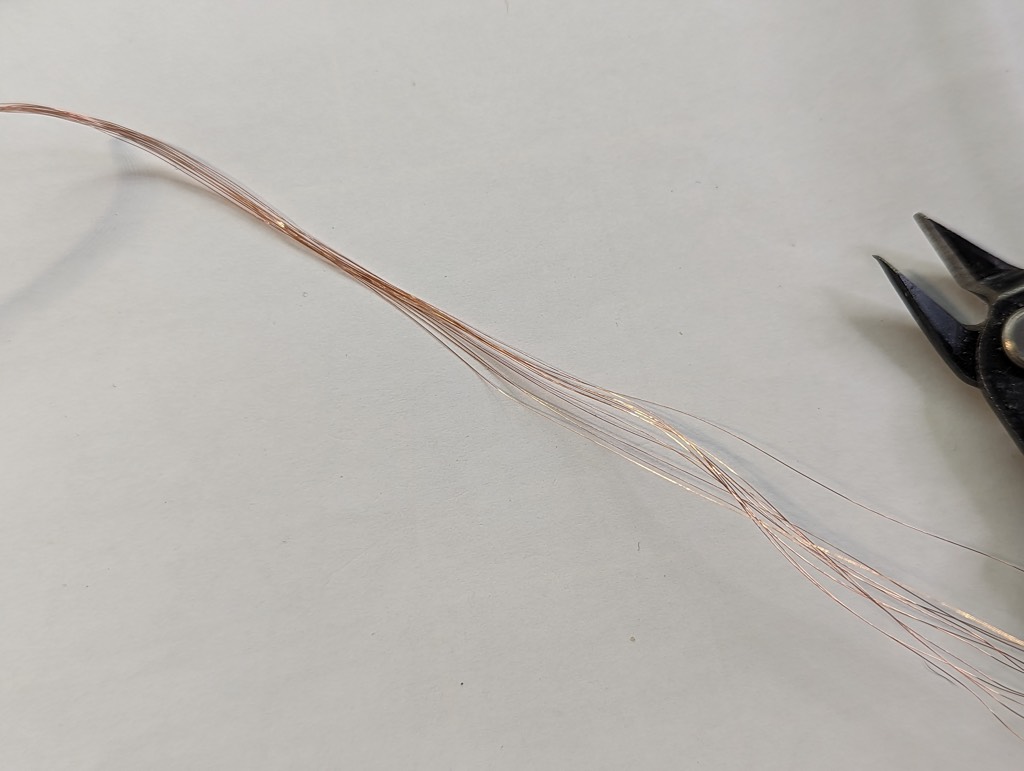
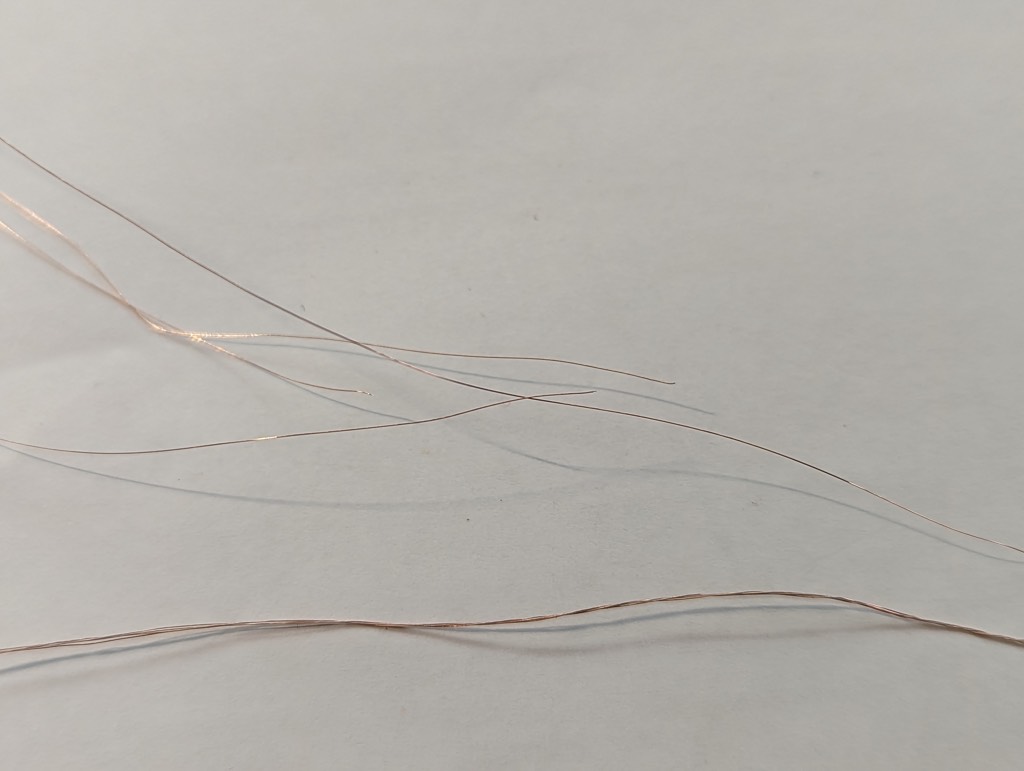
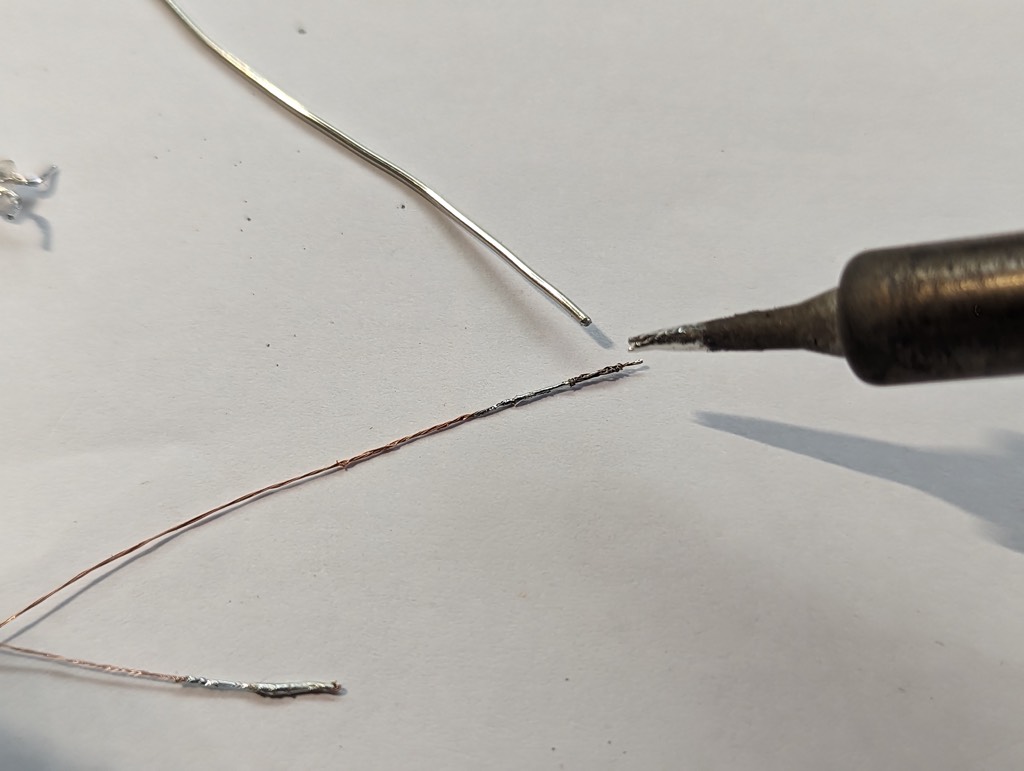
Basic soldering project: Matchbox LED LanternEmpty the box, keep two matchesPlace a neodymium magnet almost at the bottomFixate the magnet with copper tape. Let the tape run over the edgeStop hereGet another piece of copper tape. Don’t peal all of the back off. Put the second neodymium magnet in the middle and wrap the tape on itself.The magnet is now locked in the tape.Place the battery on the first magnet in the box, negative side downPlace the second copper strip with the magnet inside on top of the battery. Stick the rest of the tape to the box, over the edgeIt should look like this nowAdd copper tape to the side of the boxAlso on the other sideSolder the joint. It’ll make a conducting connectionSame on the other sideThe LED has two legs, one short (negative) and one long (positive)Strip the wire, get some long strainsTwine the long strainsCut the legs of the LEDPrepare the wires, by soldering the endSolder both wires to the LEDWrap the wire around the top of the match, I made a little knot by going over and under the wire while wrapping.Wrap some copper tape at the bottom of the matchWrap the wire around the pole and end at the copper tapeFixate the wire by soldering on the copper tapeStick the matches between the inner and the outer box. Wiggle a bit to make sure the poles make a good connection to the inner copper lane. If it doesn’t work at all, try to switch the poles. The LED has a positive and negative side, it might be the wrong way around. Another trick is to place the battery up side down. If it still doesn’t work, check the soldered joint