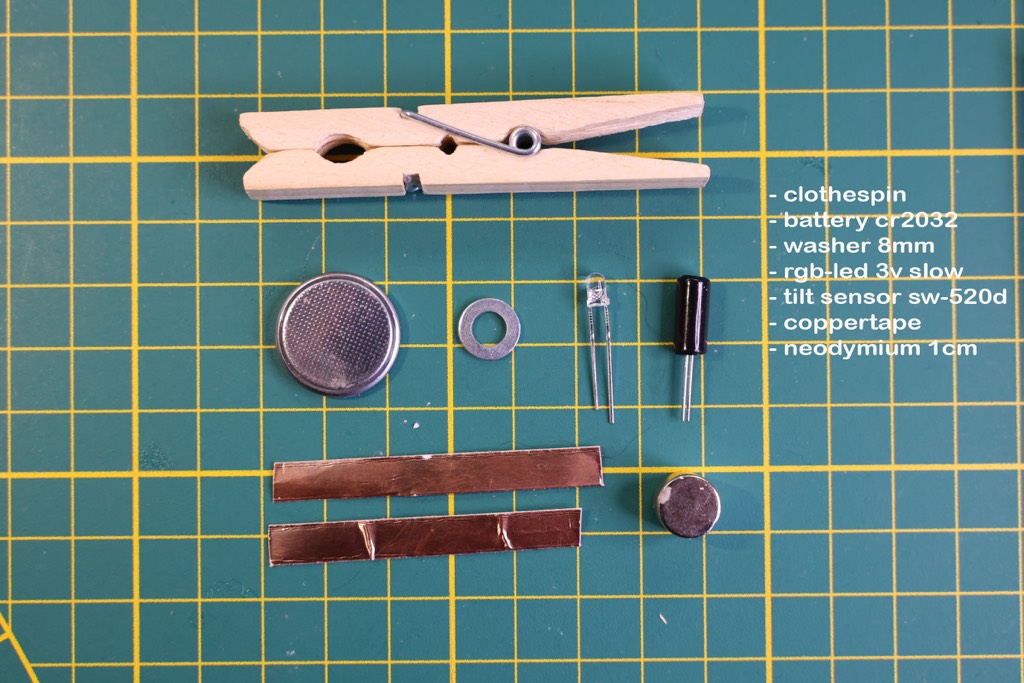
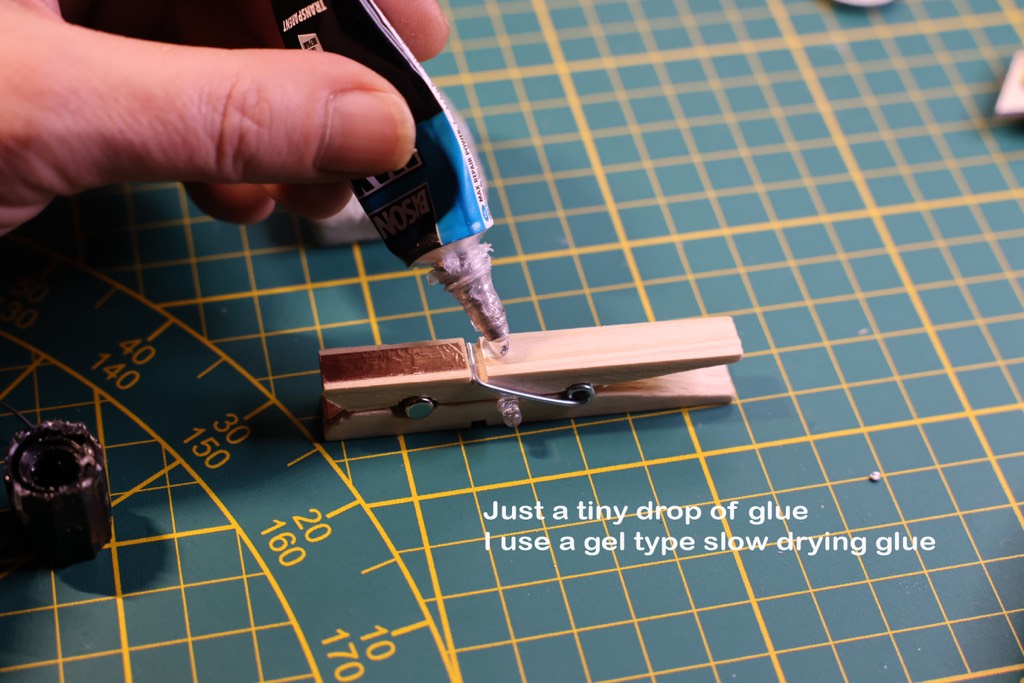
some glue (I prefer strong geltype, dries in 24hrs)
a cr2032 3v button battery
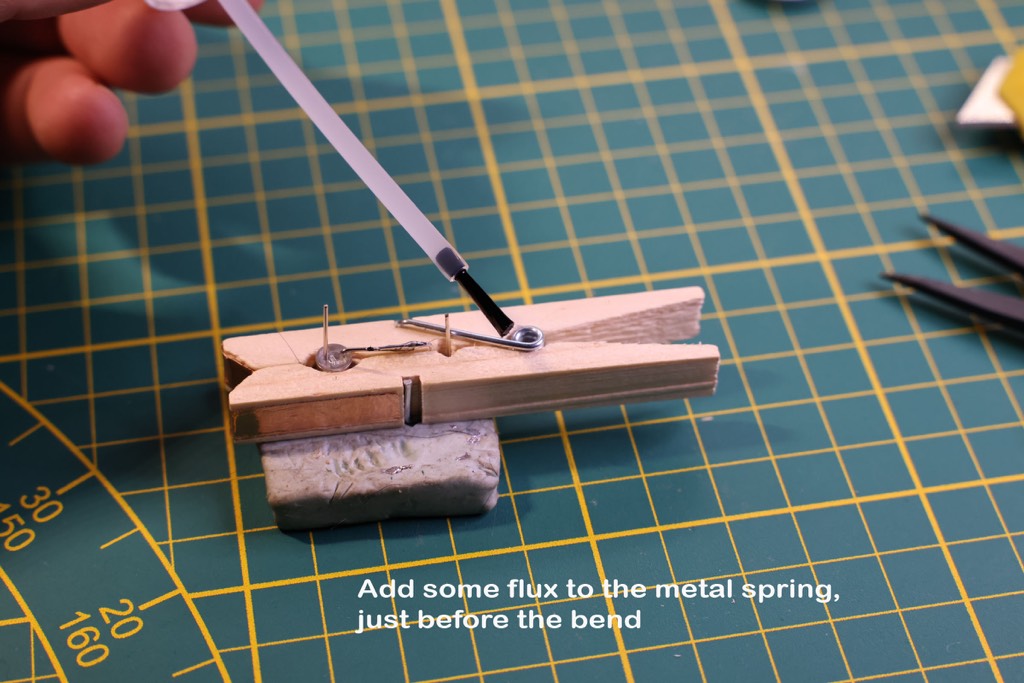
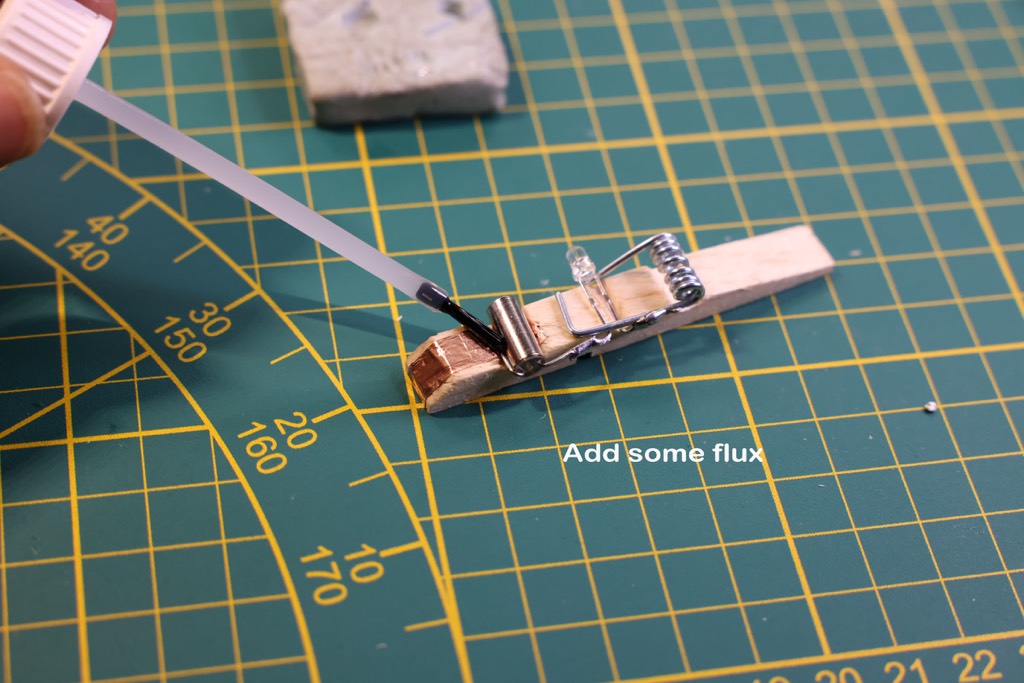
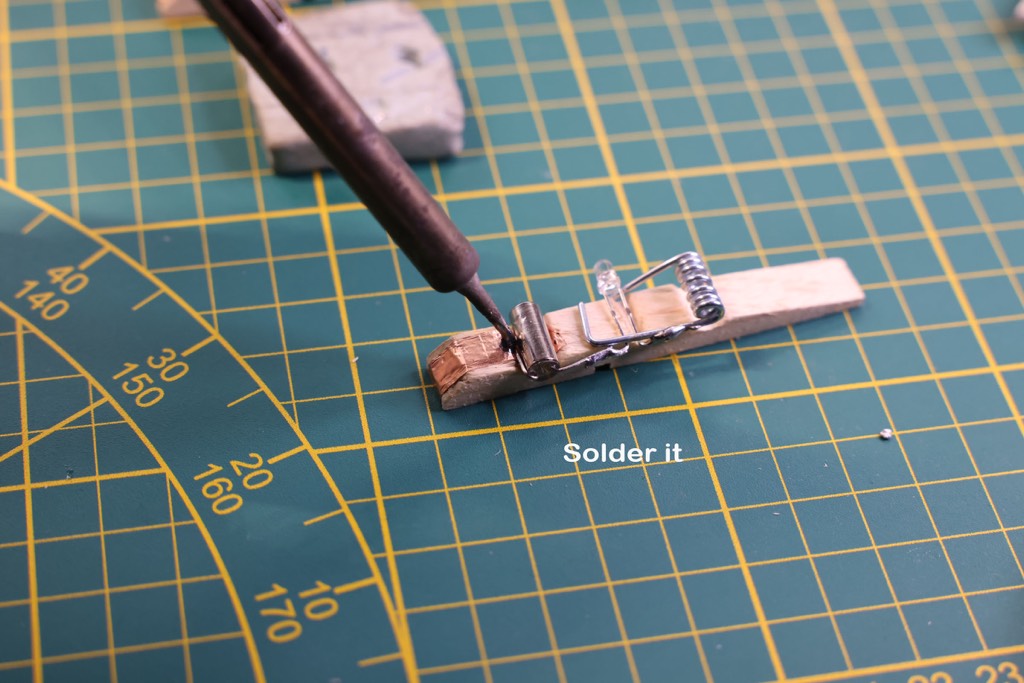
some flux / rosin will help soldering on the metal of the pin
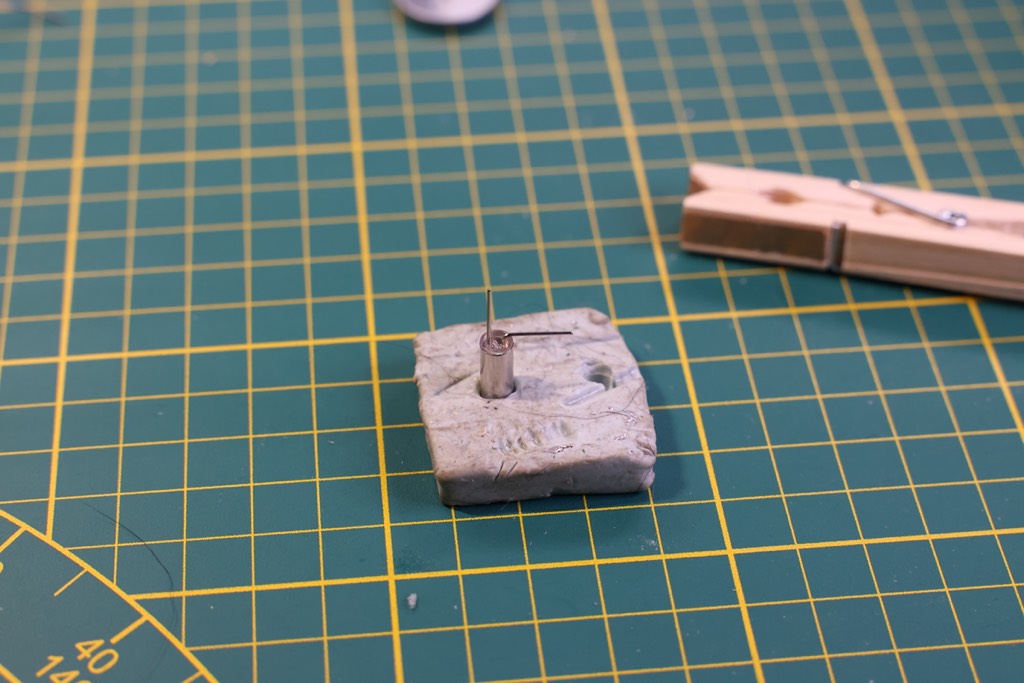
a piece of putty rubber
and of course a soldering iron with some solder, and other tools….
Circuit
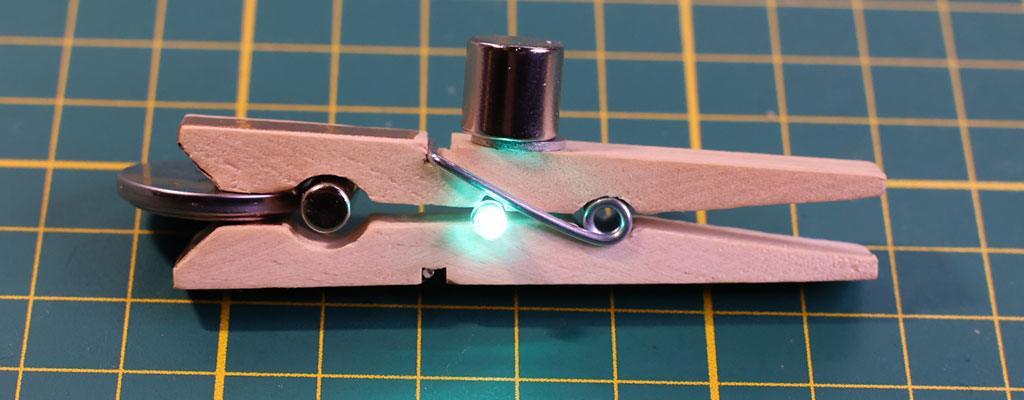
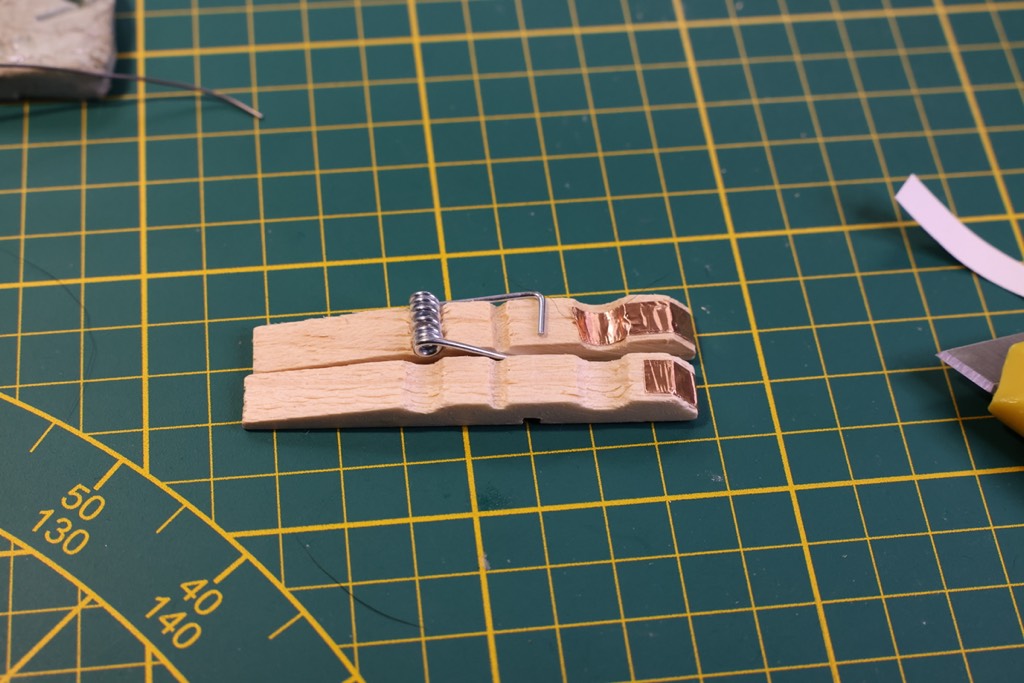
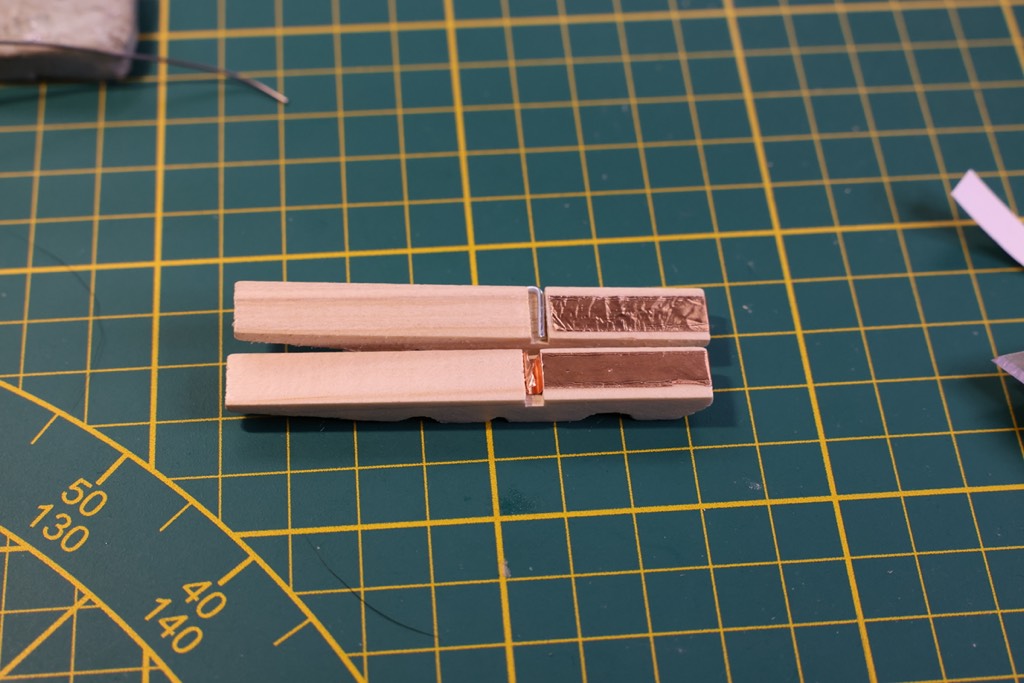
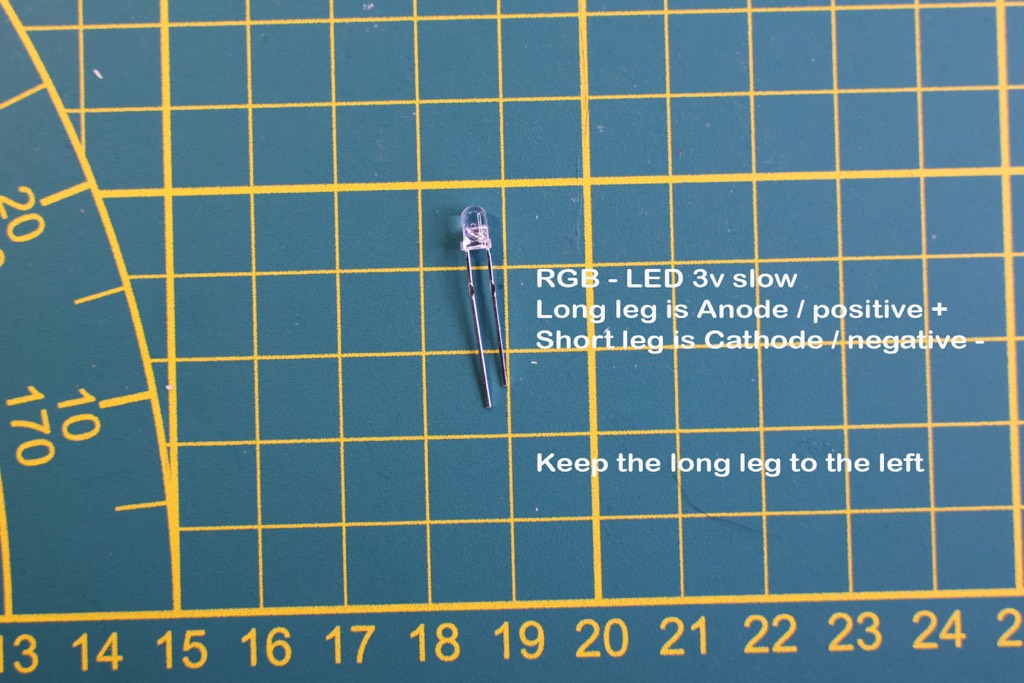
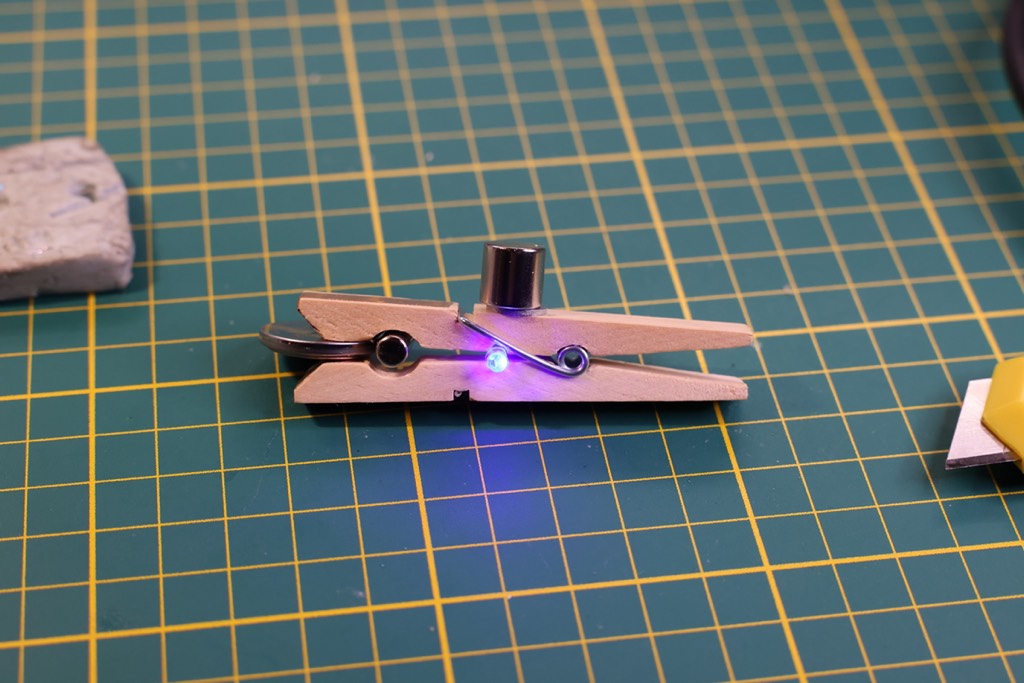
The copper tape on the legs of the peg conducts electricity from the battery to the LED. Notice that I use the metal of the spring to conduct the current too, by putting the copper tape in one slot under the metal spring. The battery has a positive and a negative side. Often the positive side is marked with a ‘+’ sign. The LED also has a positive leg (long) and negative leg (short). By sliding the battery in the mouth of the pin it powers the LED. But the tilt sensor must be upright to conduct the power, it acts as a switch. Once placed on the fridge you can turn the LED off by turning the clothes peg upside down.
Step by step instructions
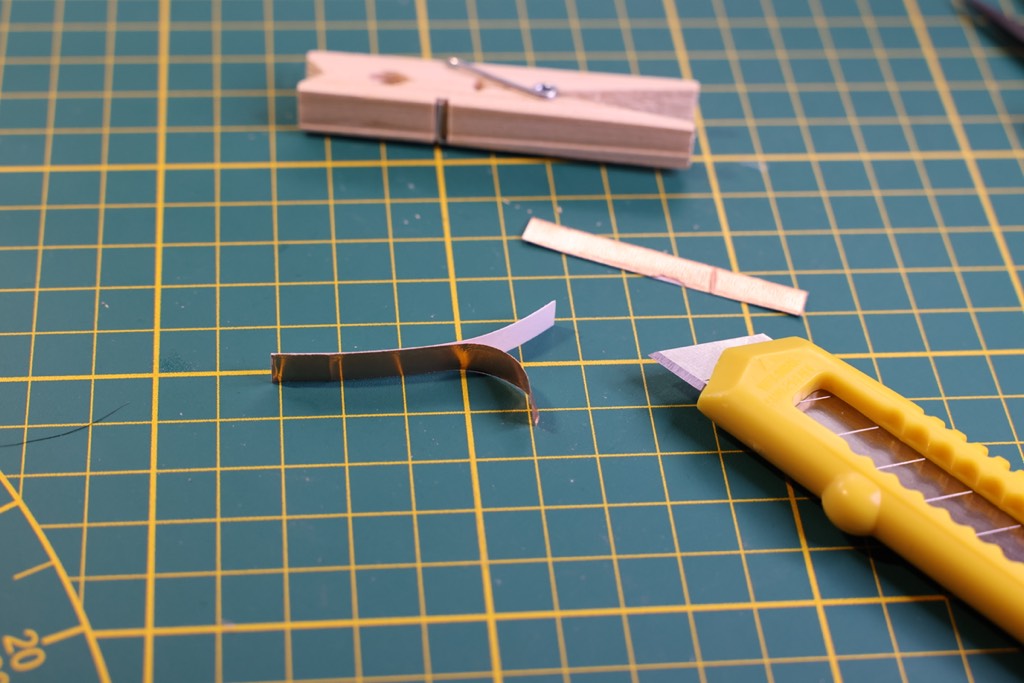
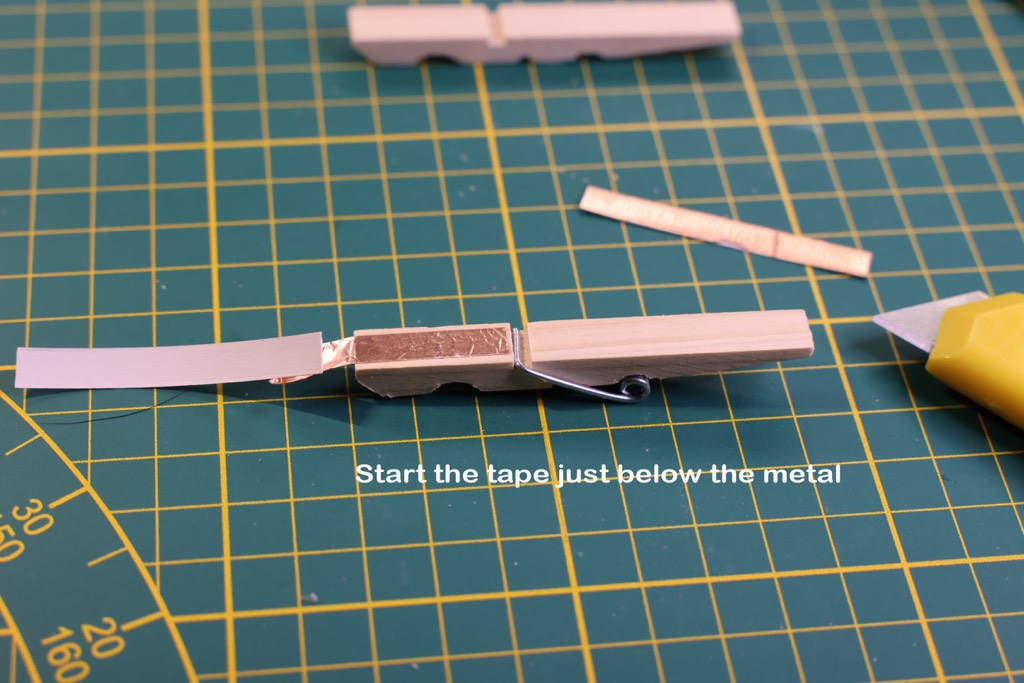
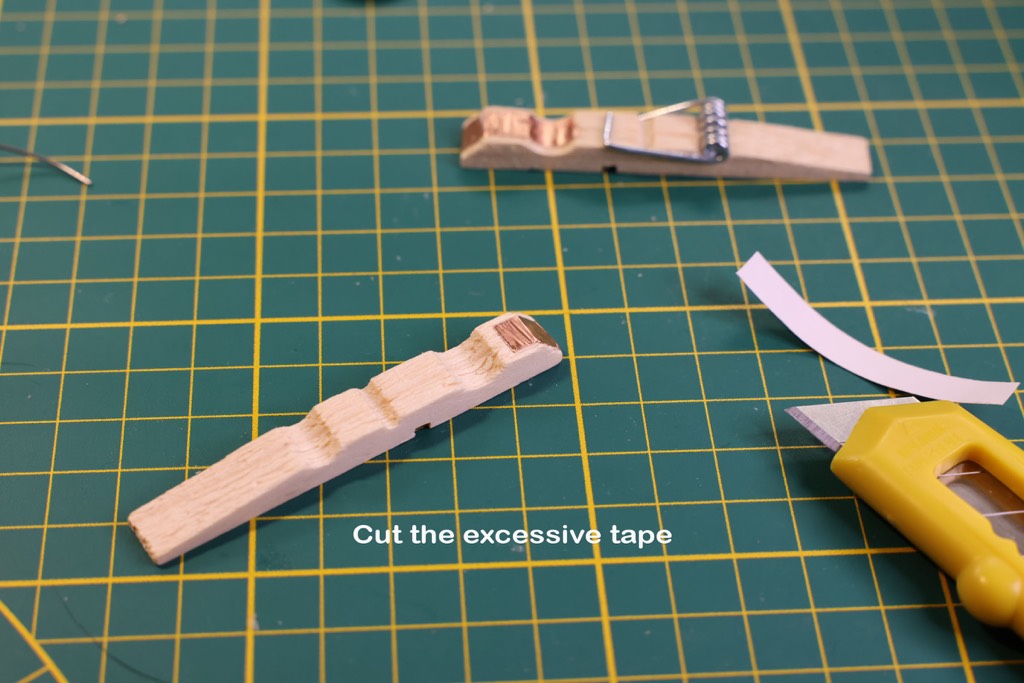
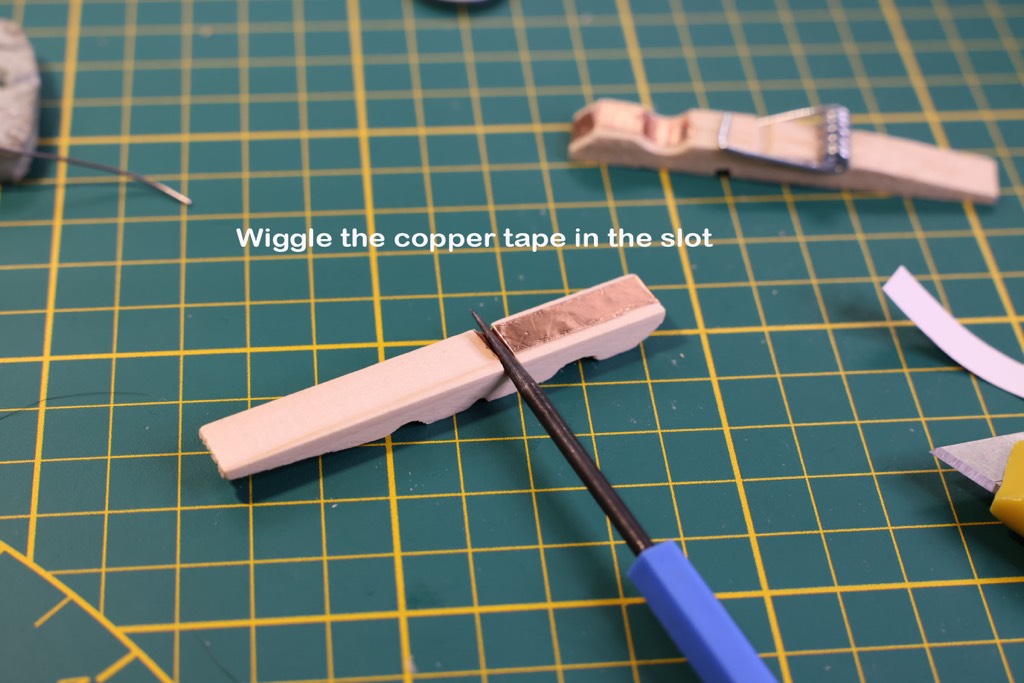
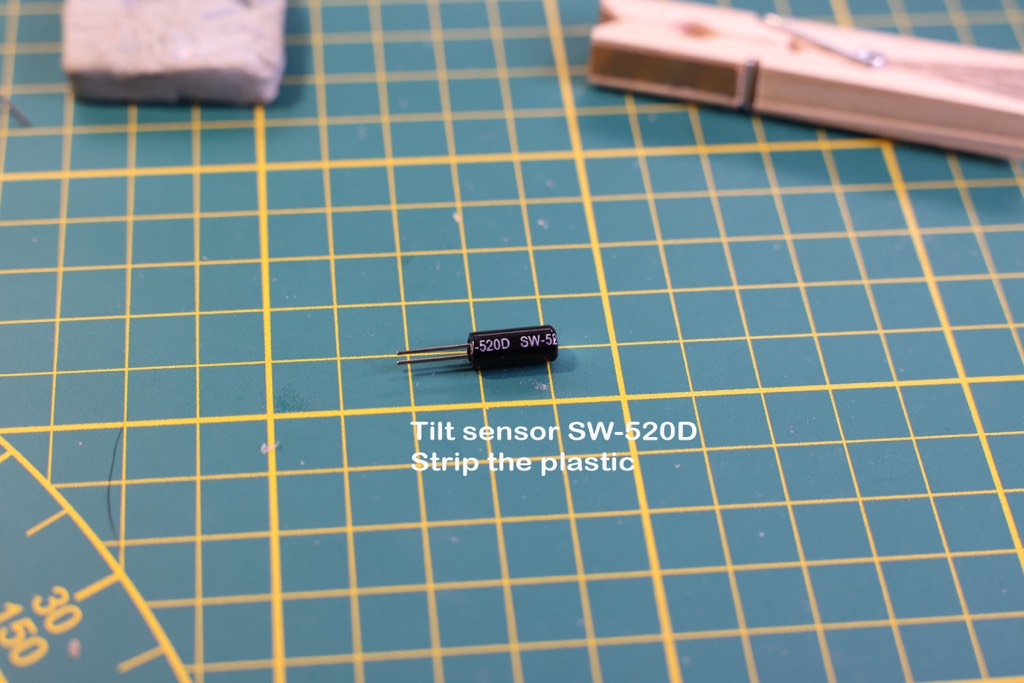
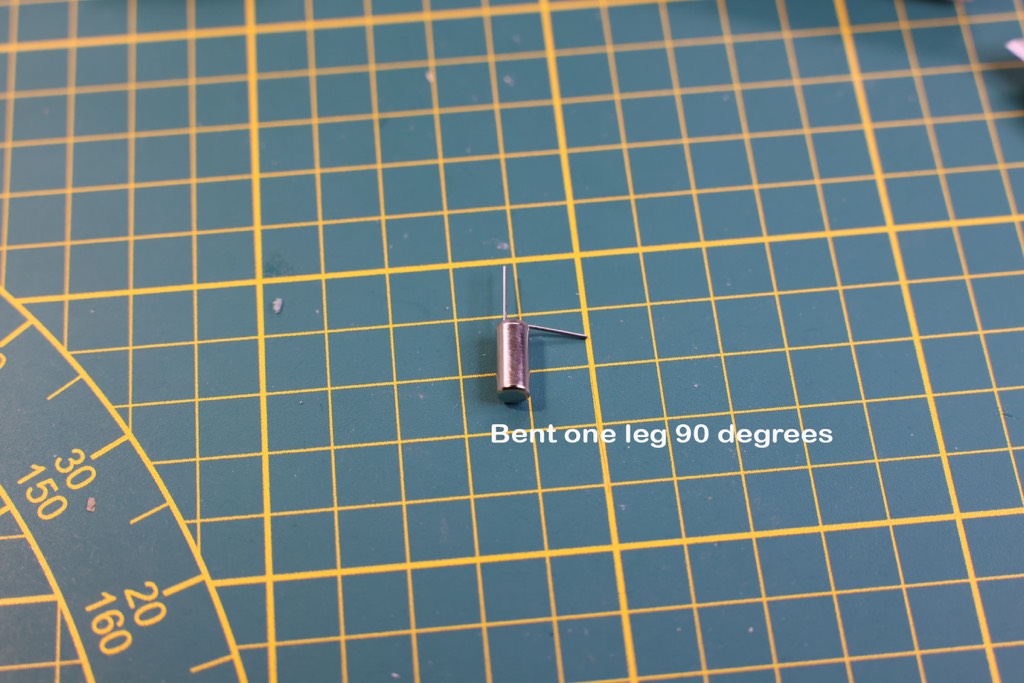
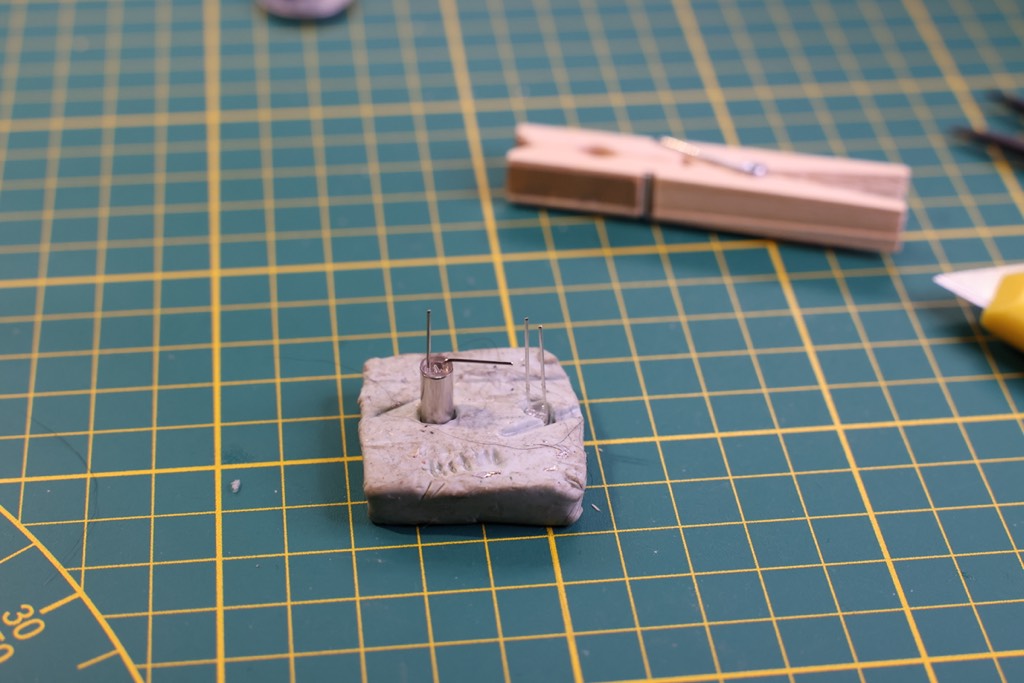
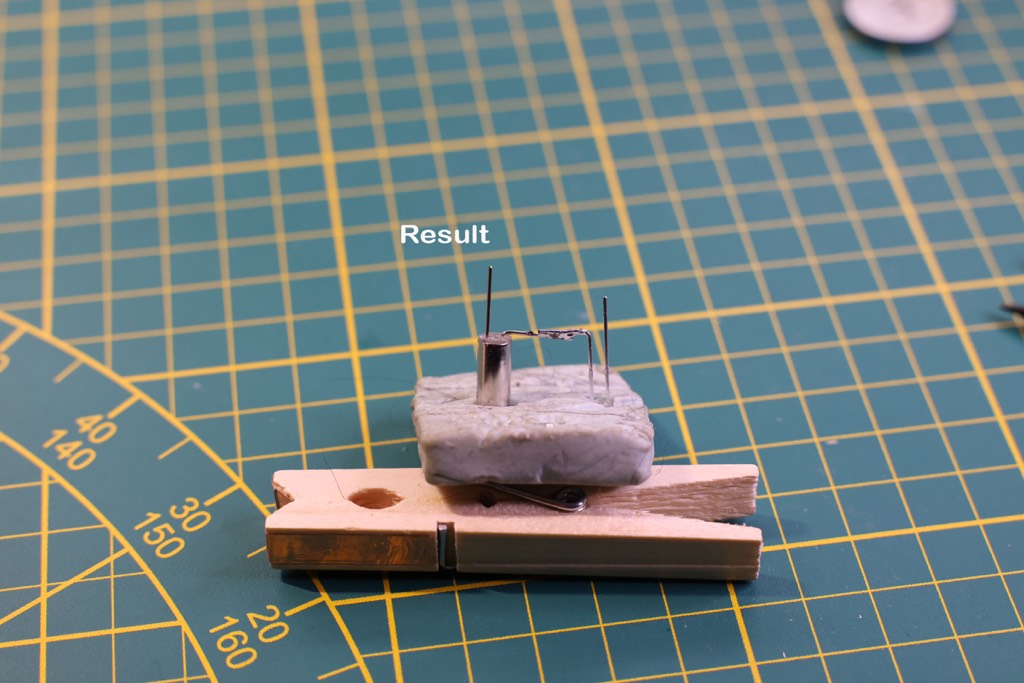
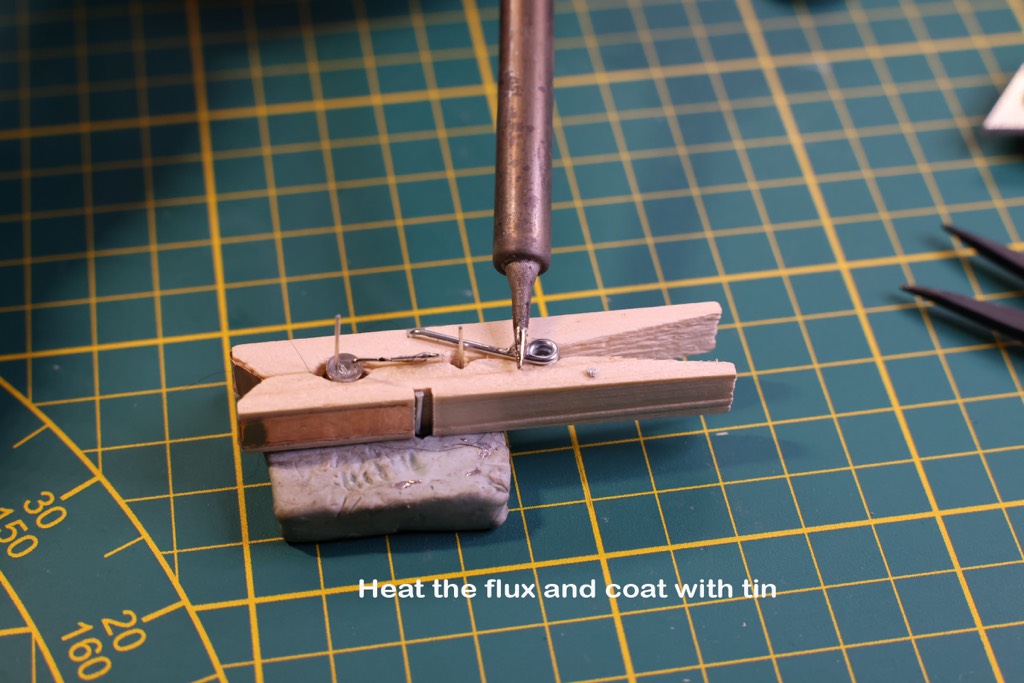
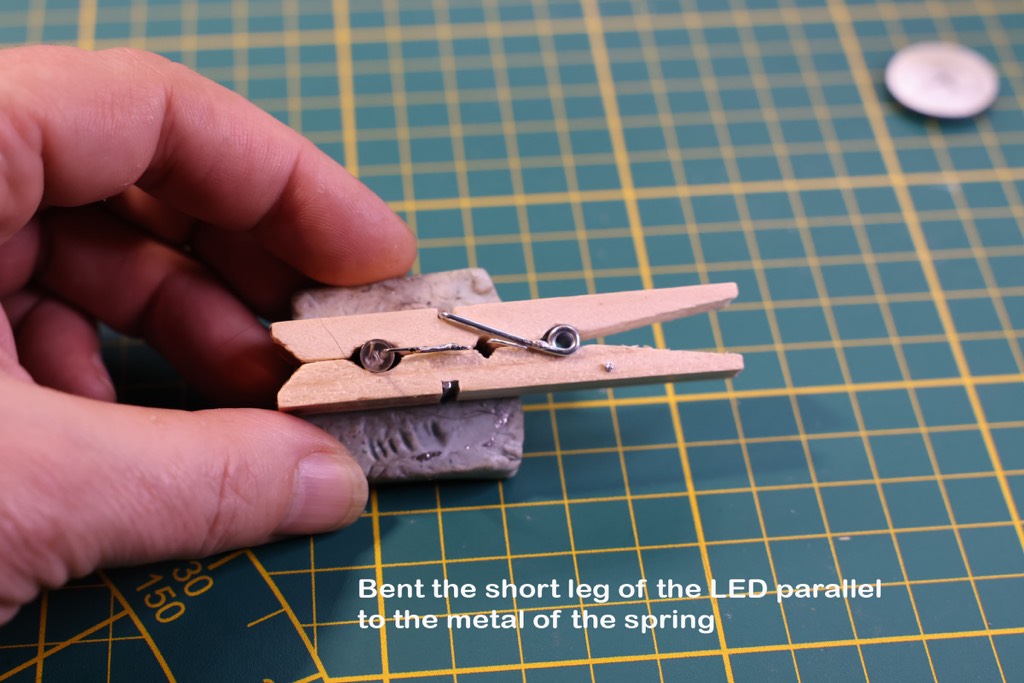
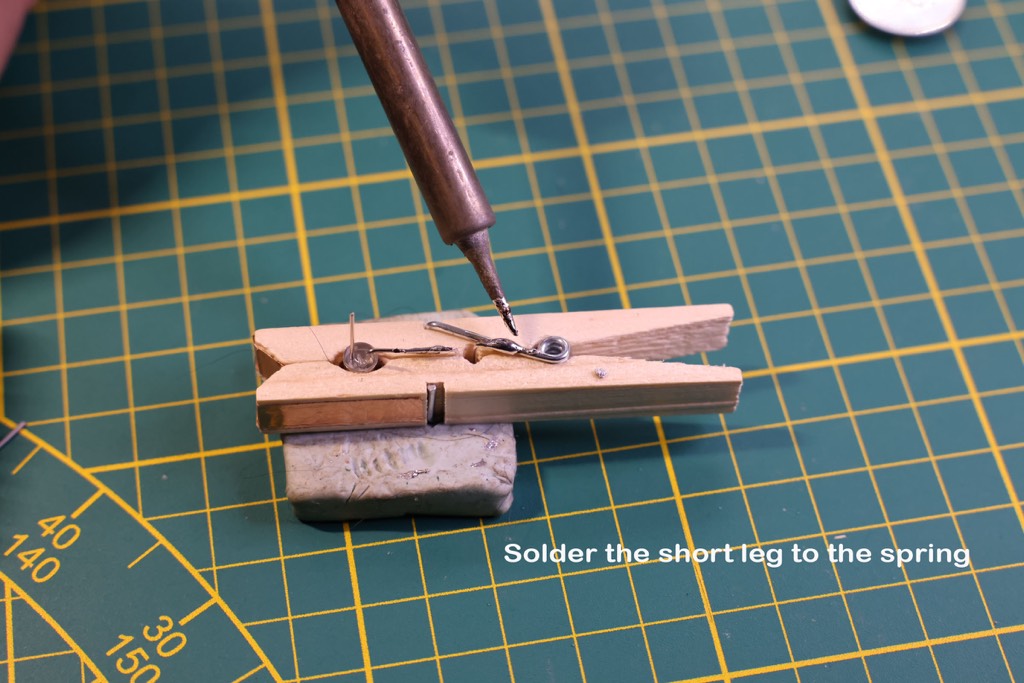
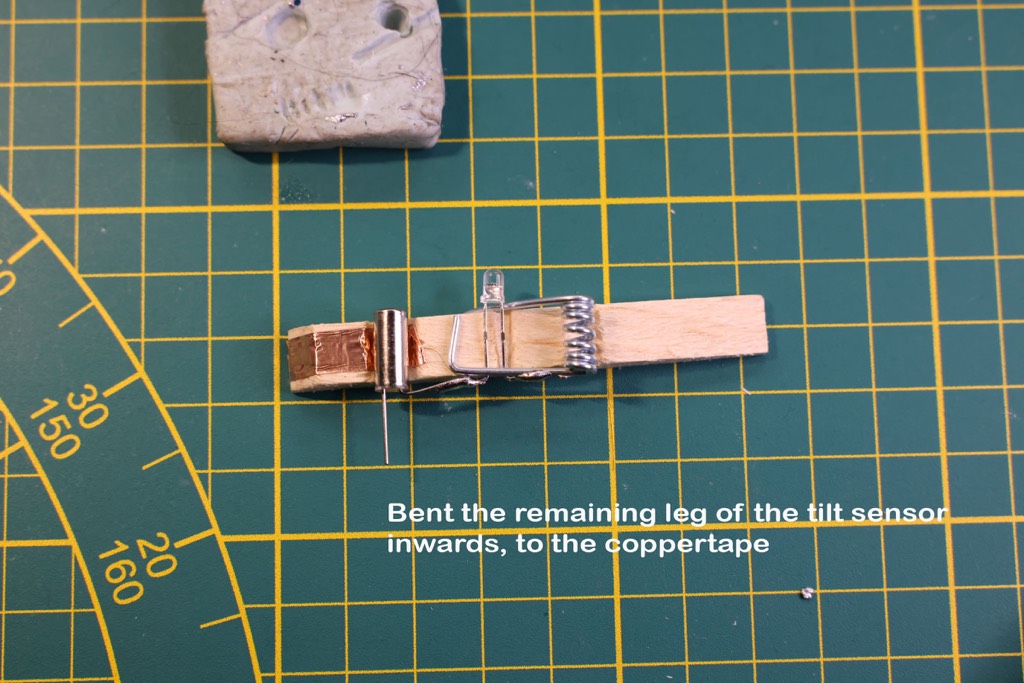
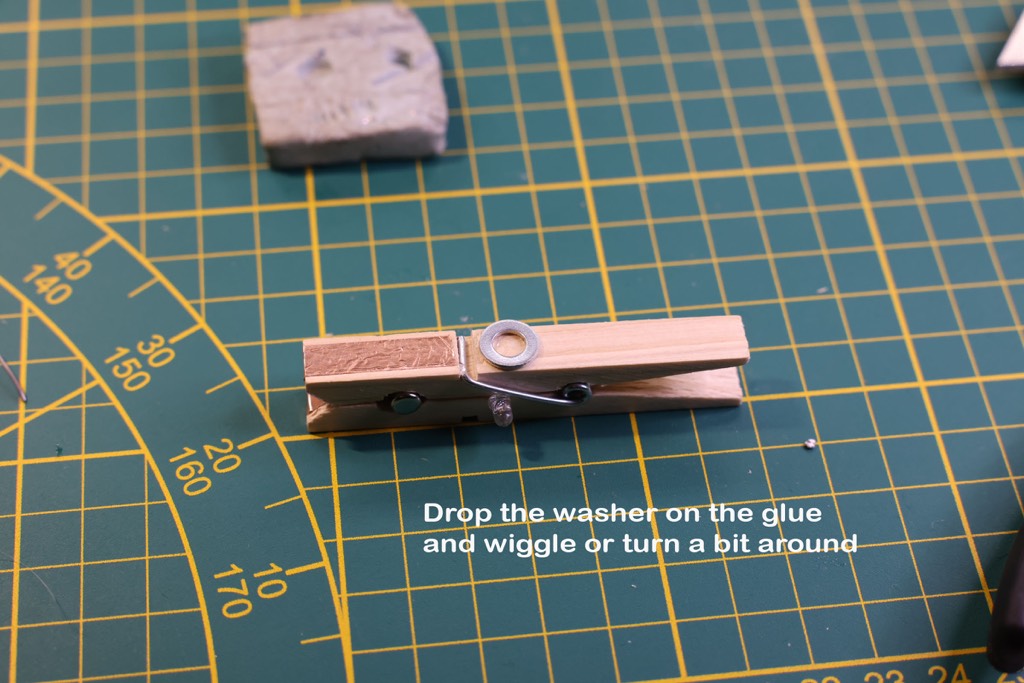
basic soldering project: Clothespin LED fridge magnet X-masPeal the copper tape looseStick the tape on the peg, start just below the metalOn the inside make sure the tape is not too longWiggle the tape a bit in the slot with a needle or small screwdriverIt should look like this nowand thisStrip the tilt sensor with a knife, watch your fingersBend one of the legs of the tilt sensor 90 degreesPut the tilt sensor upside down in a piece of putty rubber, the bent leg to the rightRGB-LEDPut the LED upside down next to the tilt sensor. Keep the long leg (positive anode) on the left sideBend the long leg of the LED towards the bent leg of the tilt sensor. Make them touch, and solder them together.Add some flux to the metal spring. We’ll solder the negative side of the LED to the spring.Heat the flux and pre-coat the spring with tinBend the short leg (anode) of the LED parallel to the metal of the springSolder them togetherDisassemble clothespin again and bend the remaining leg of the tilt sensor inside, touching the copper tape.Add some fluxSolder it (not too much)Assemble the clothespin again, and add some glue. Watch the orientation of the peg, the copper tape which doesn’t connect with the metal spring is on top now…Drop the washer on the glue. Wiggle it a bit. If you used slow drying gel type glue, let it dry. I use a washer so I can reuse the neodymium magnet.When dry, attach the neodymium magnet and attach the battery. The positive side of the battery is on the washer / magnet side.