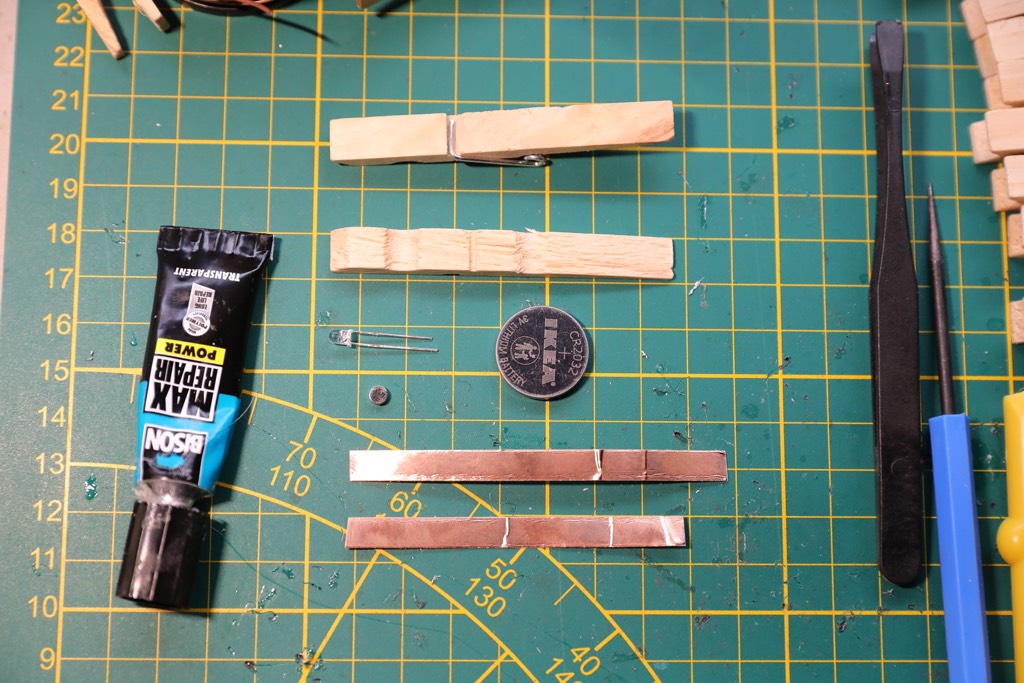
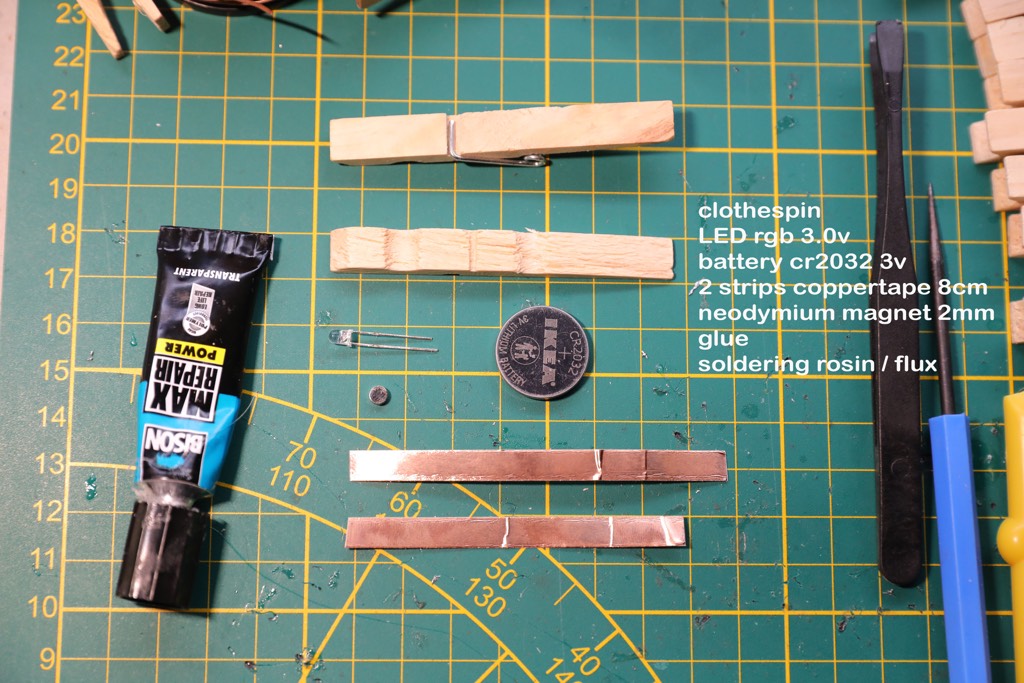
some glue (I prefer strong gel type, dries in 24hrs)
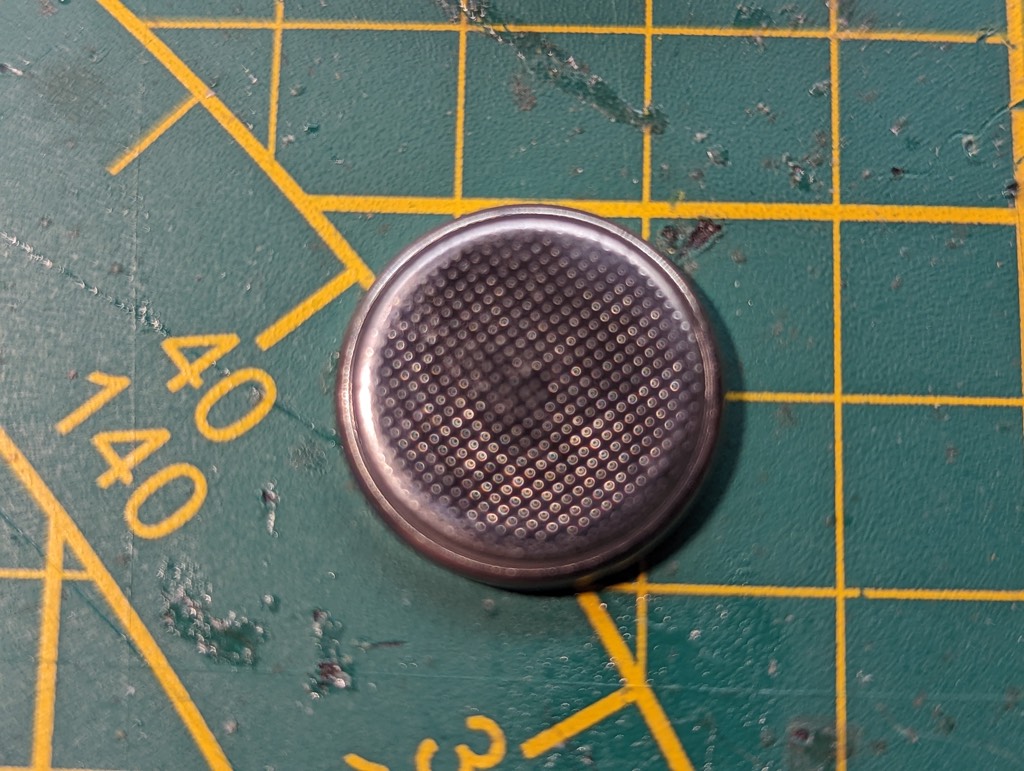
a cr2032 3v button battery
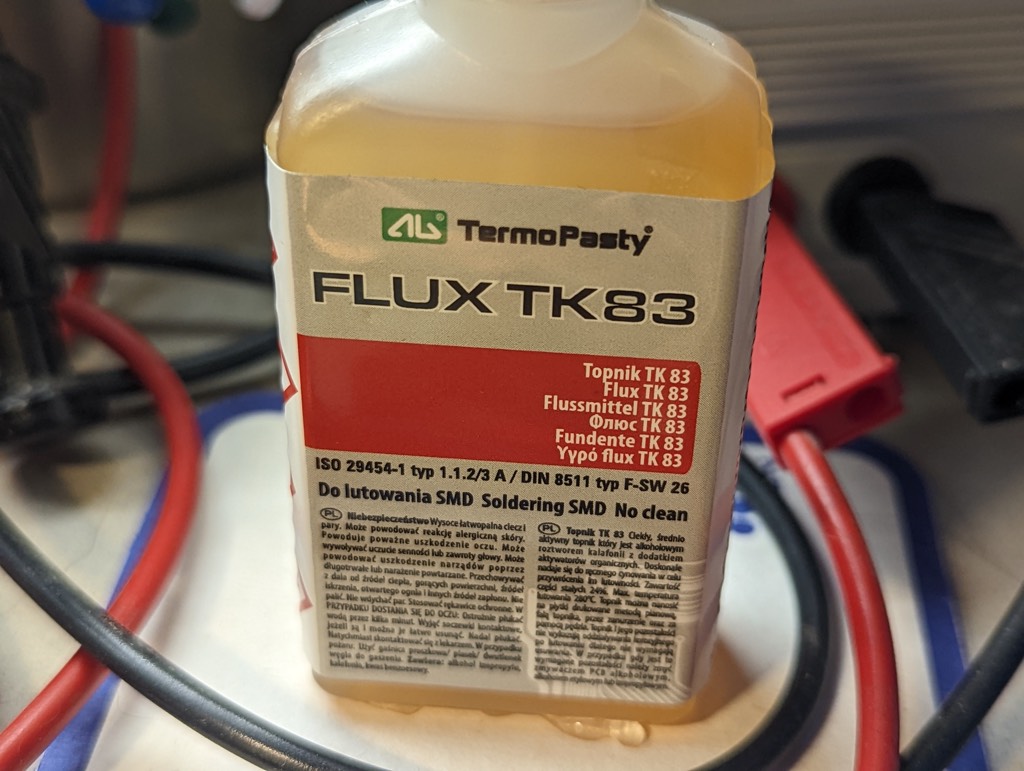
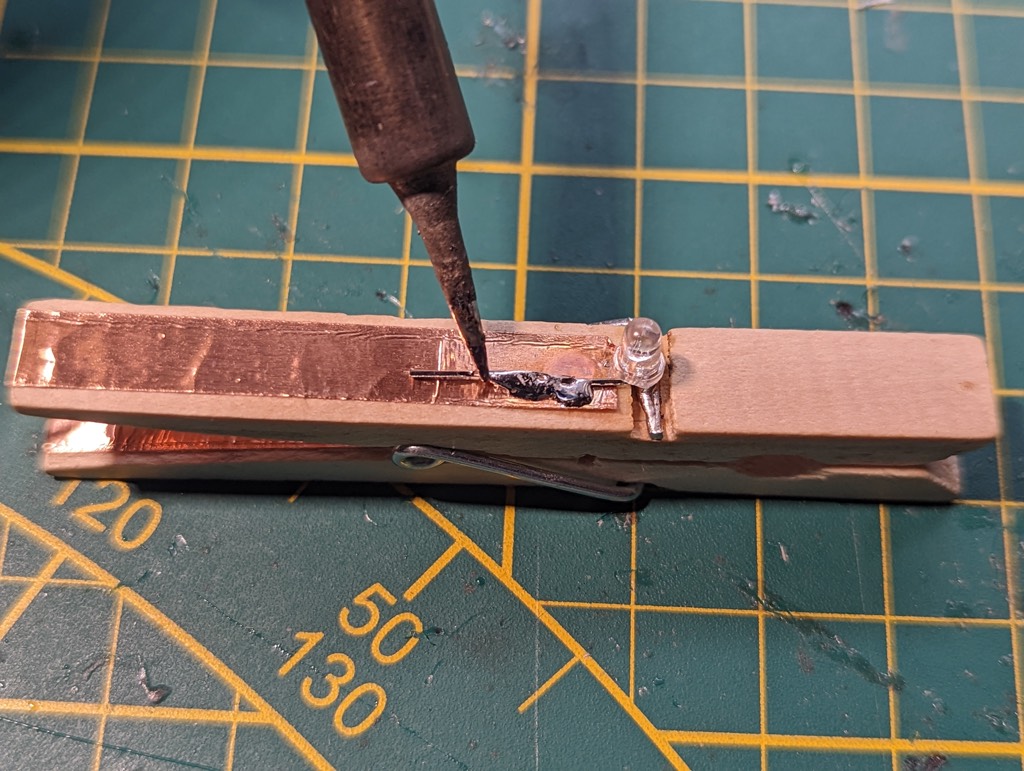
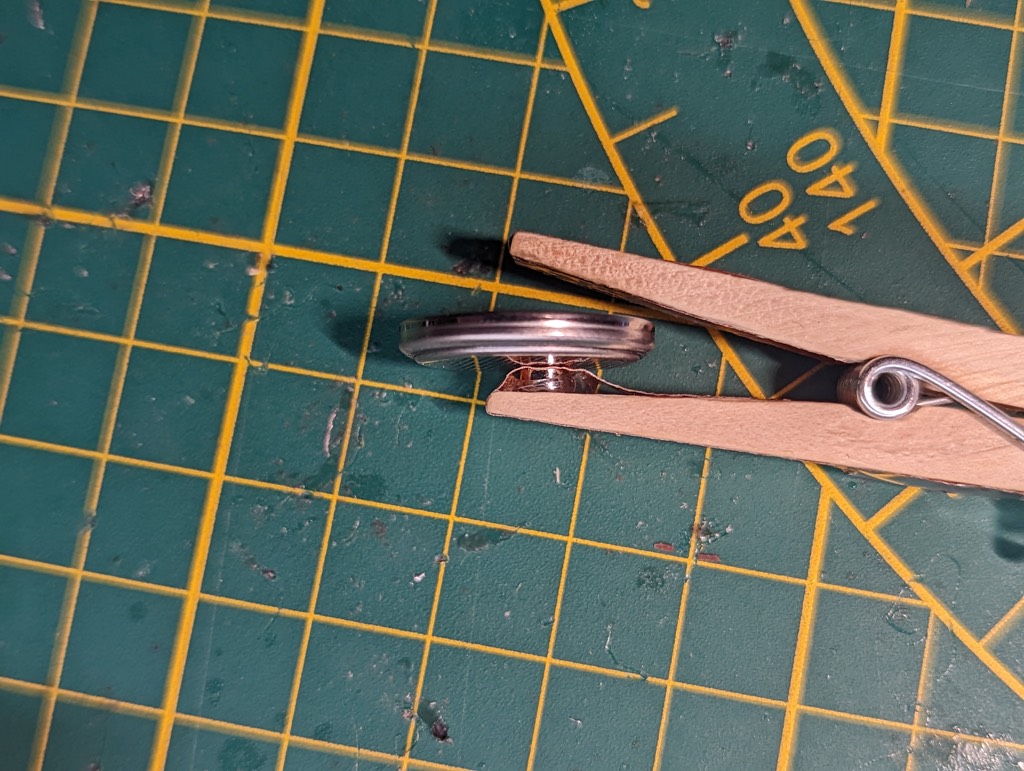
some flux / rosin will help soldering on the metal of the pin
and of course a soldering iron with some solder, and other tools….
Circuit
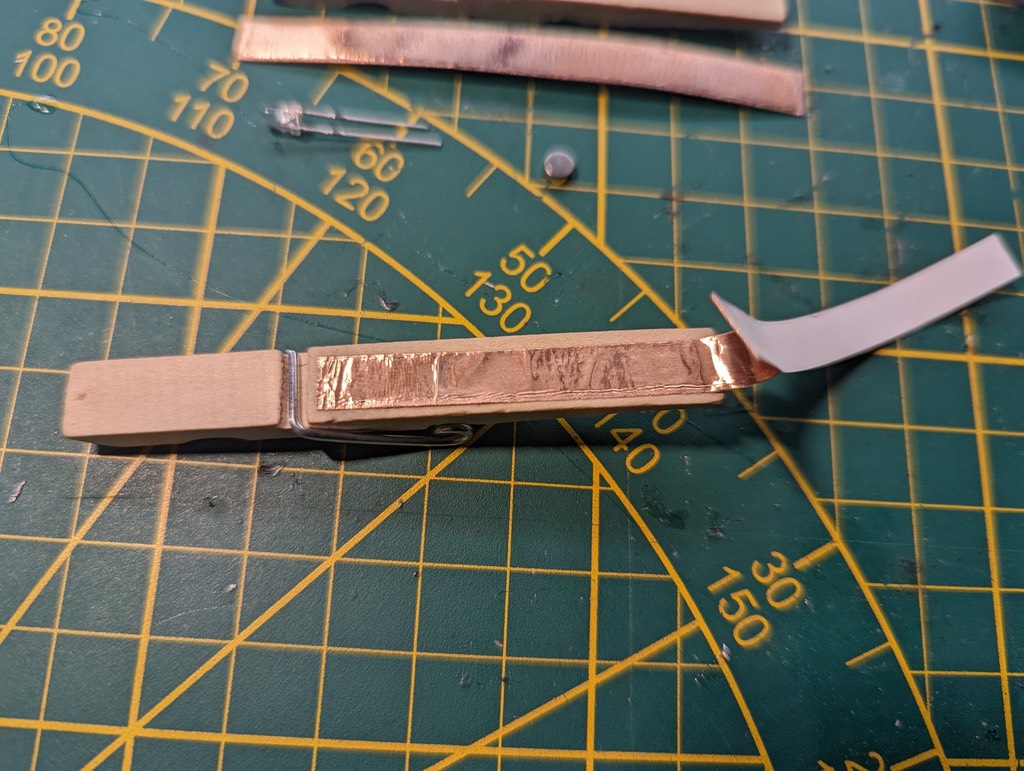
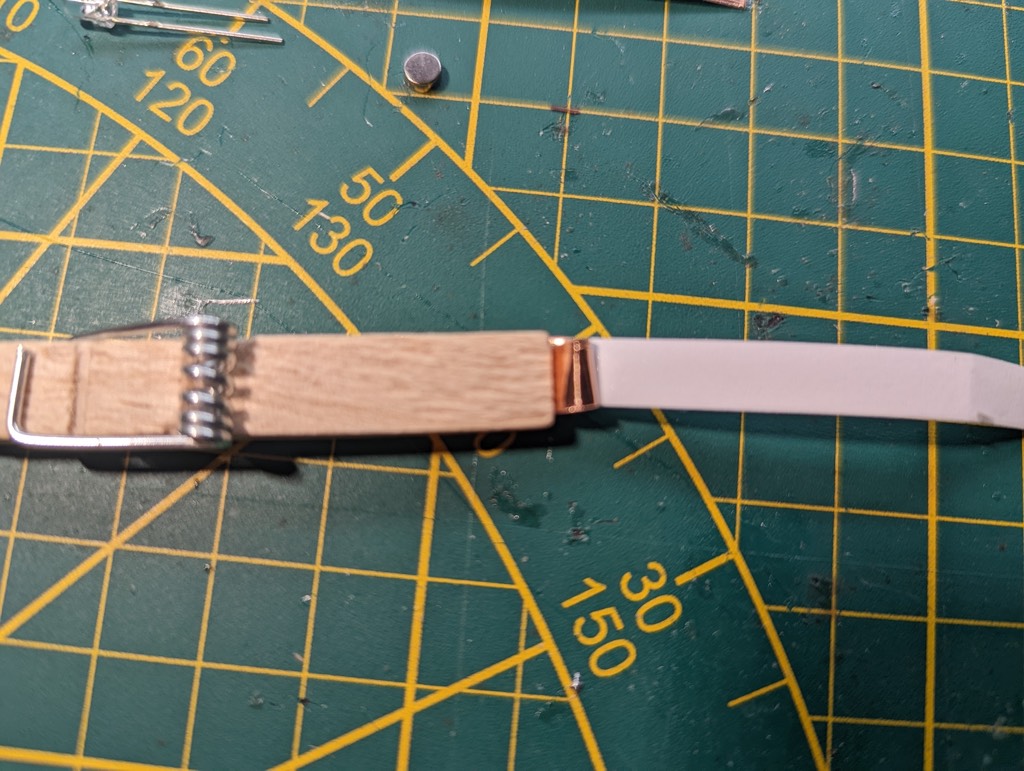
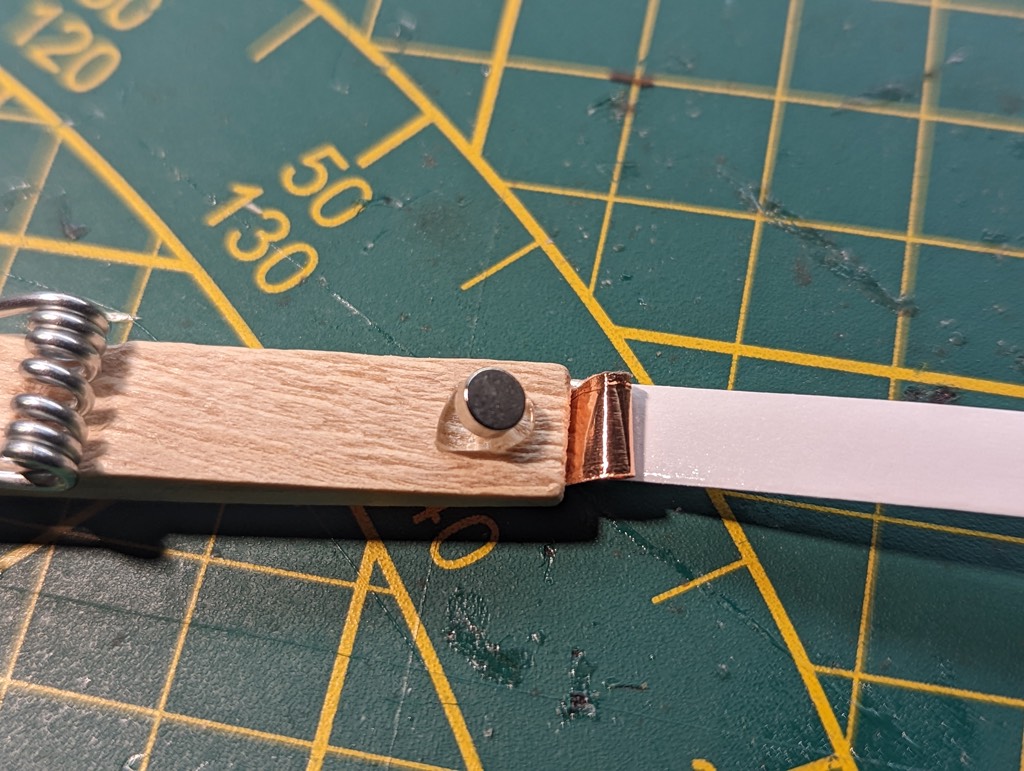
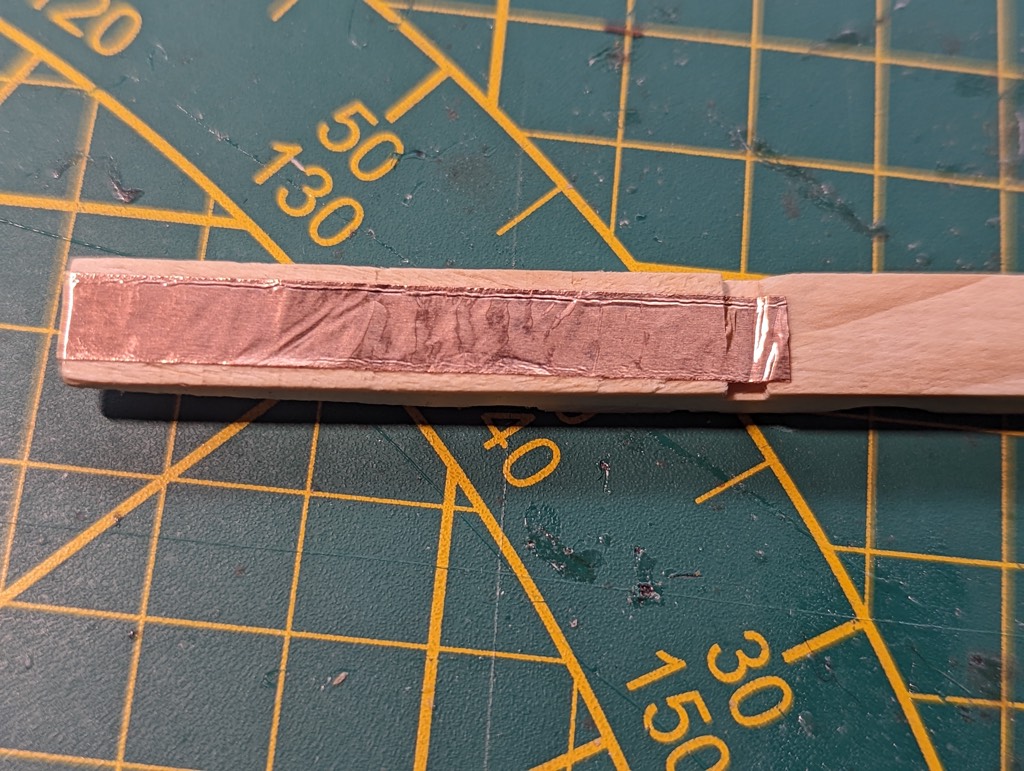
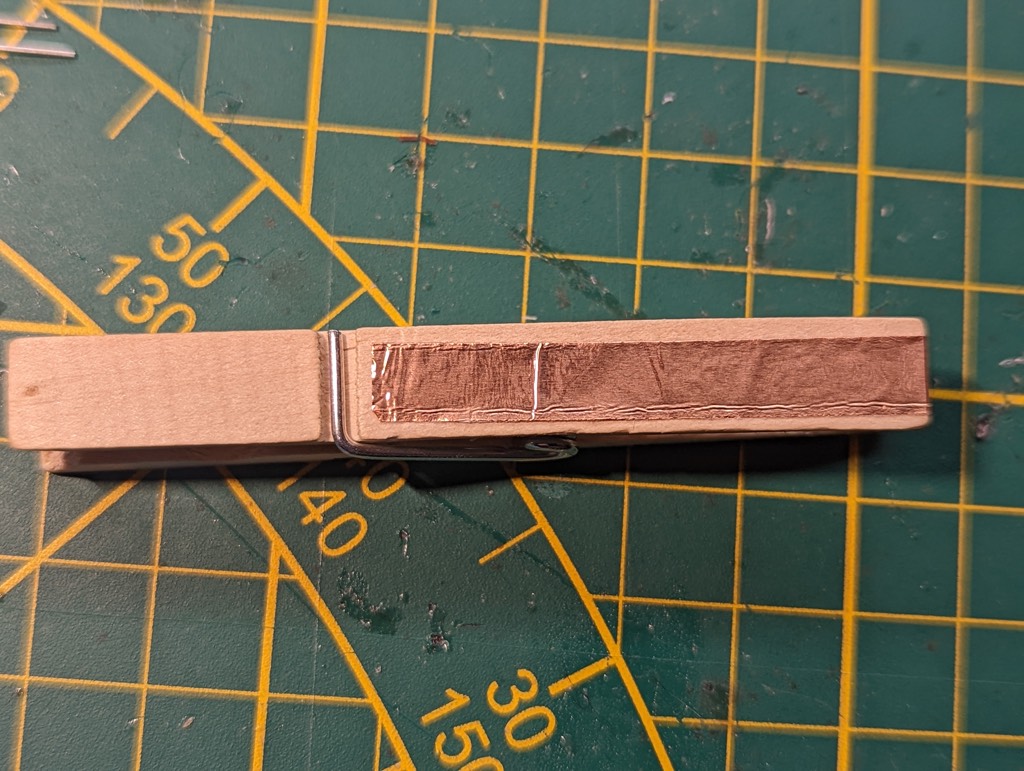
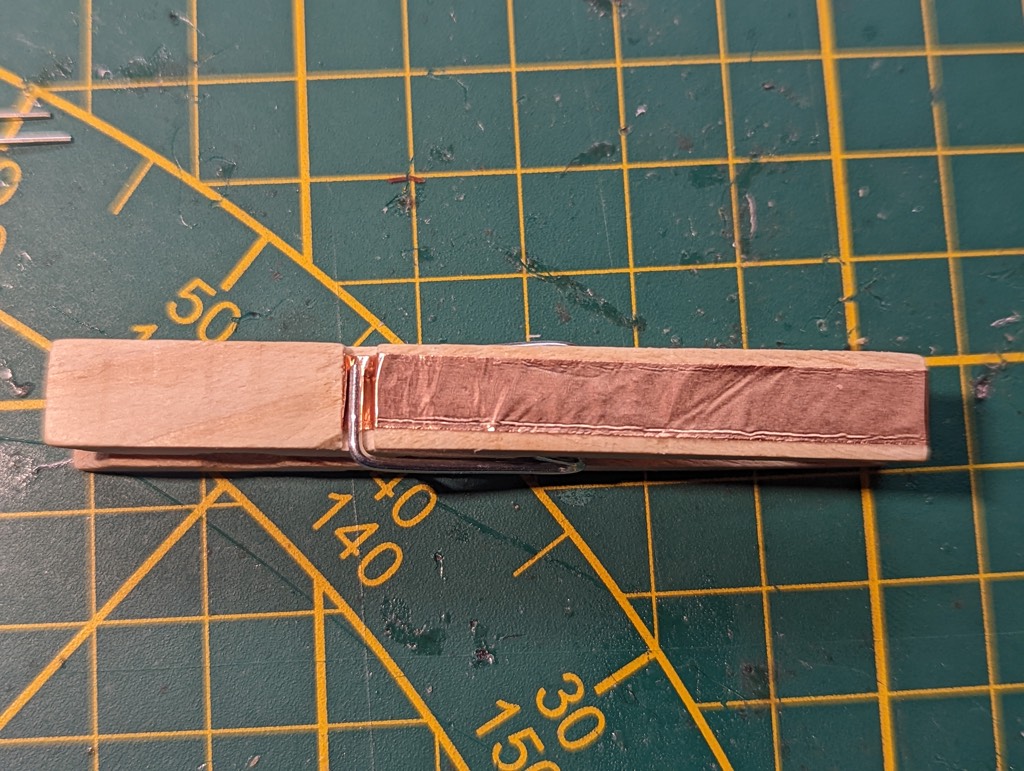
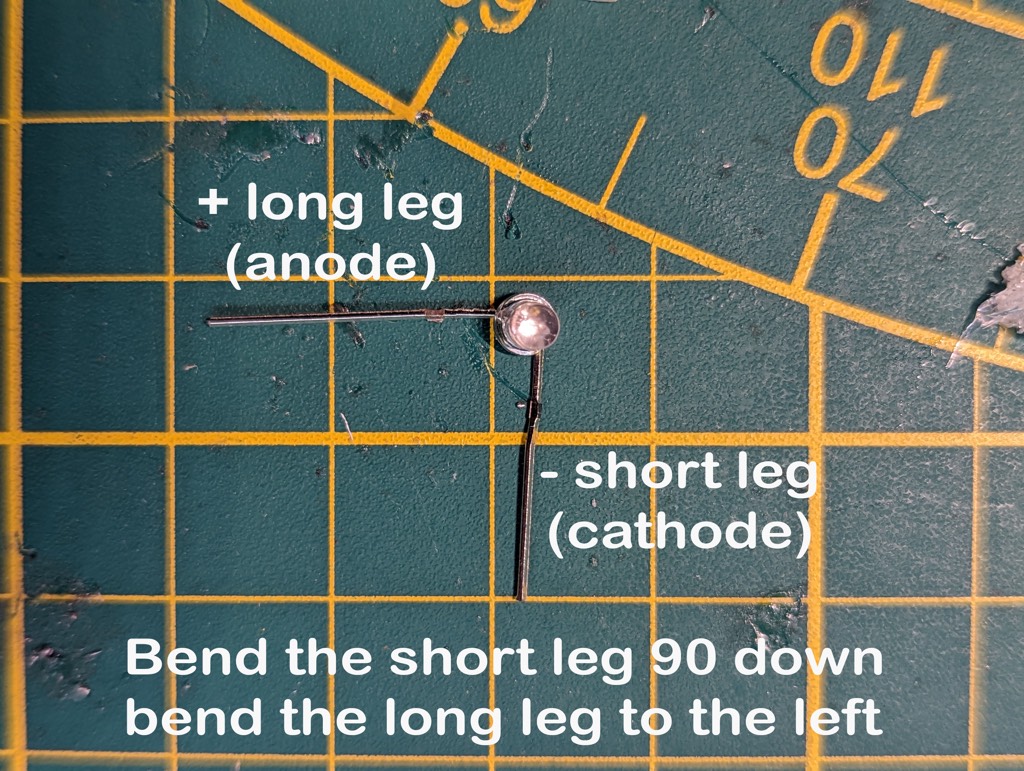
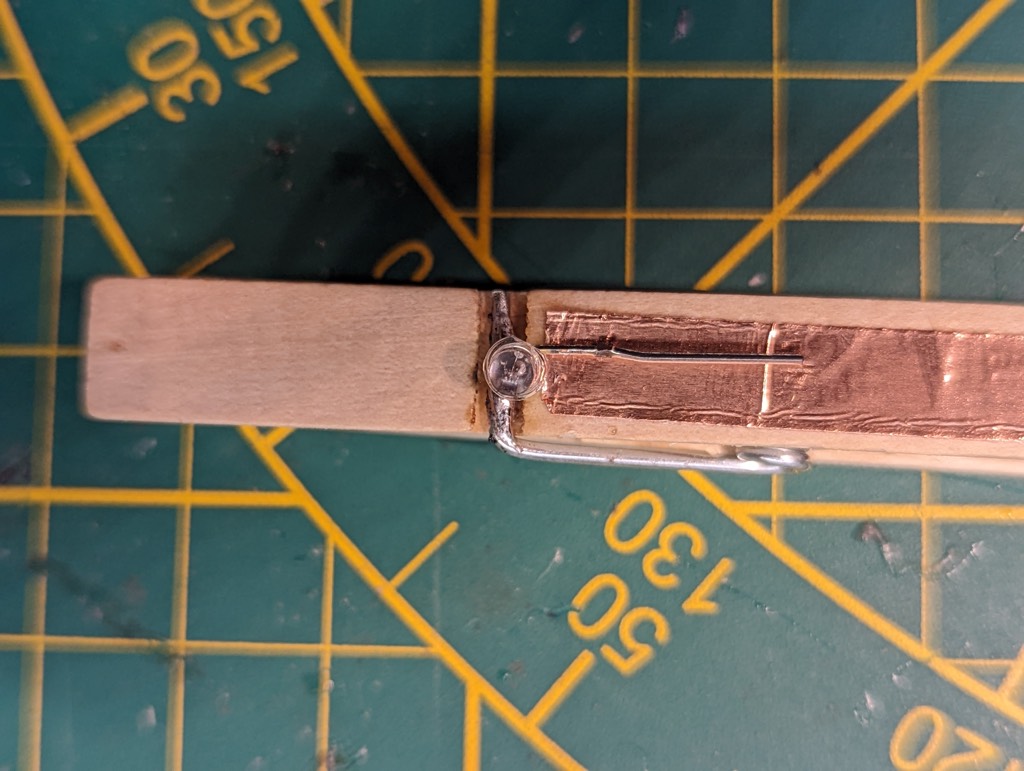
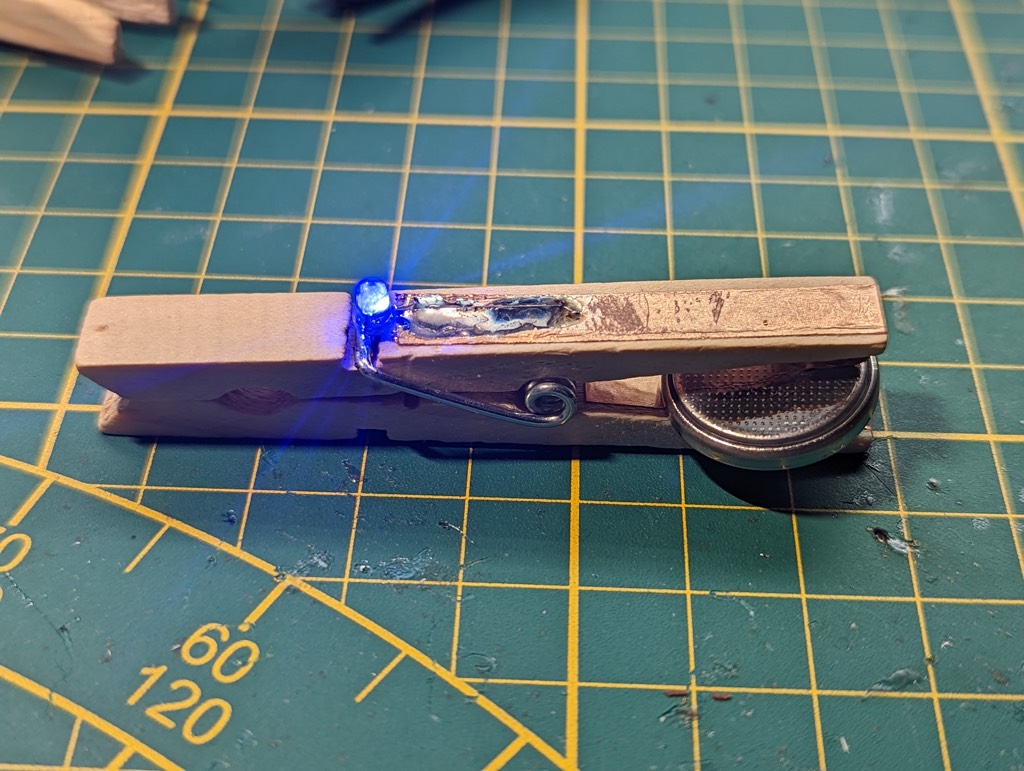
The copper tape on the legs of the peg conducts electricity from the battery to the LED. Notice that I use the metal of the spring to conduct the current too, by putting the copper tape in one slot under the metal spring. The battery has a positive and a negative side. Often the positive side is marked with a ‘+’ sign. The LED also has a positive leg (long) and negative leg (short). By sliding the battery the positive side connects to the copper tape on the leg, closing the loop, which conducts the current to the leg of the LED. You can check if the LED works by pushing the battery in between the legs. If it doens’t work try to put the battery the other way around in between the legs of the LED. That way you can always find out which size of leg is negative or positive.
Step by step instructions
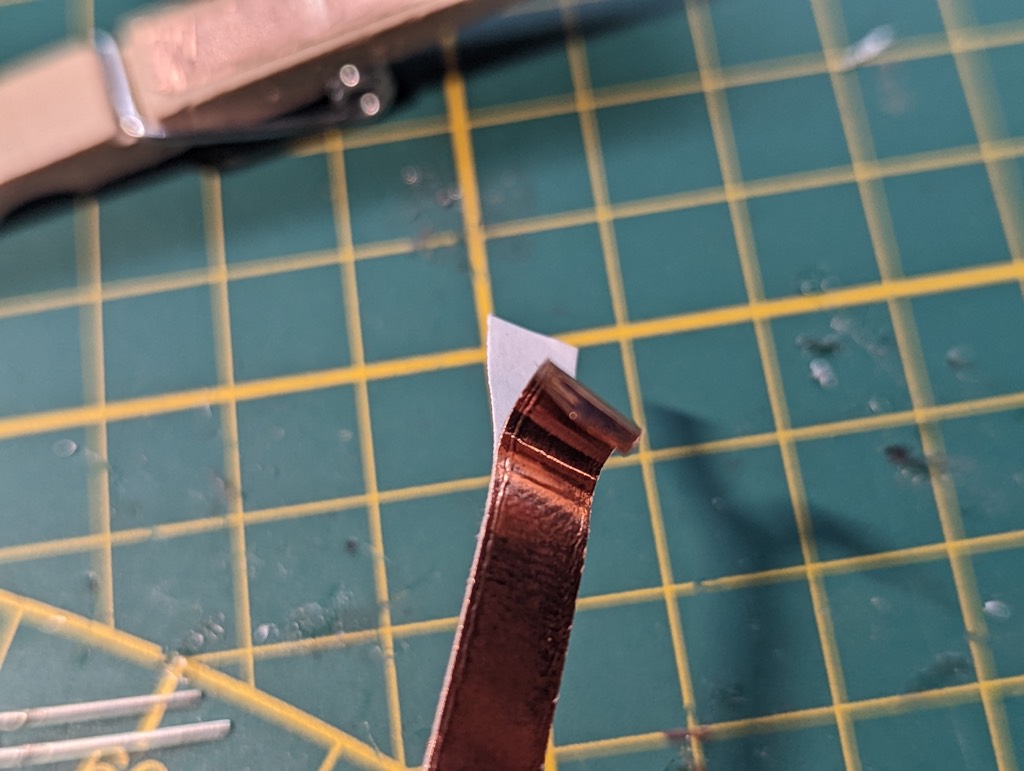
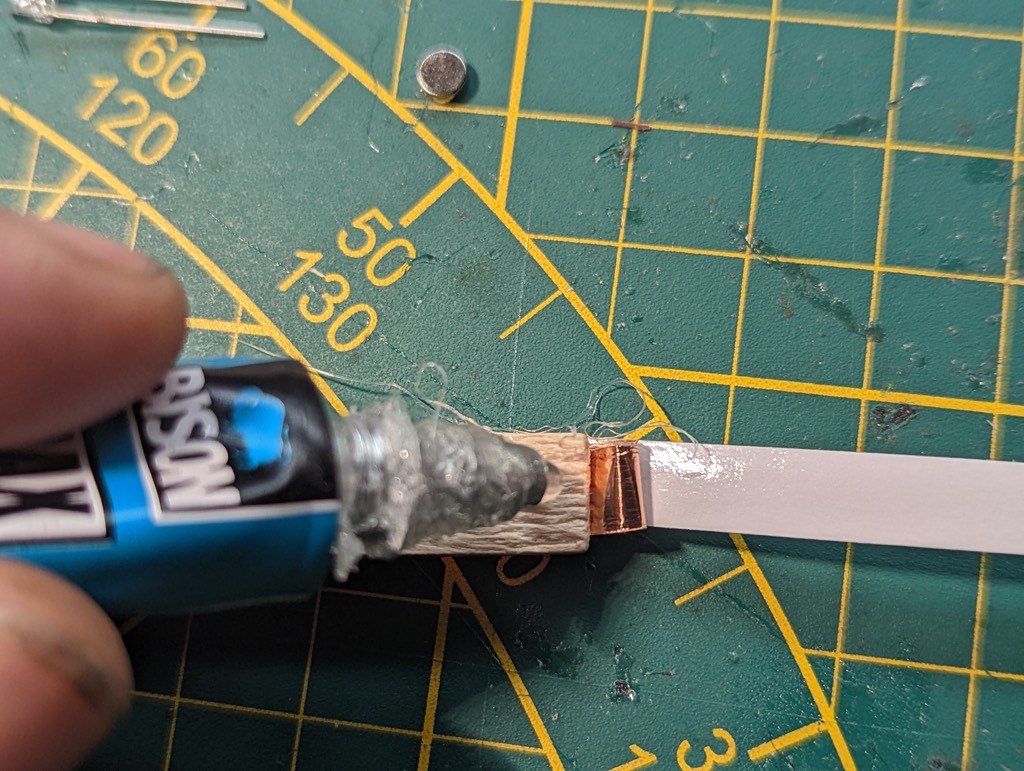
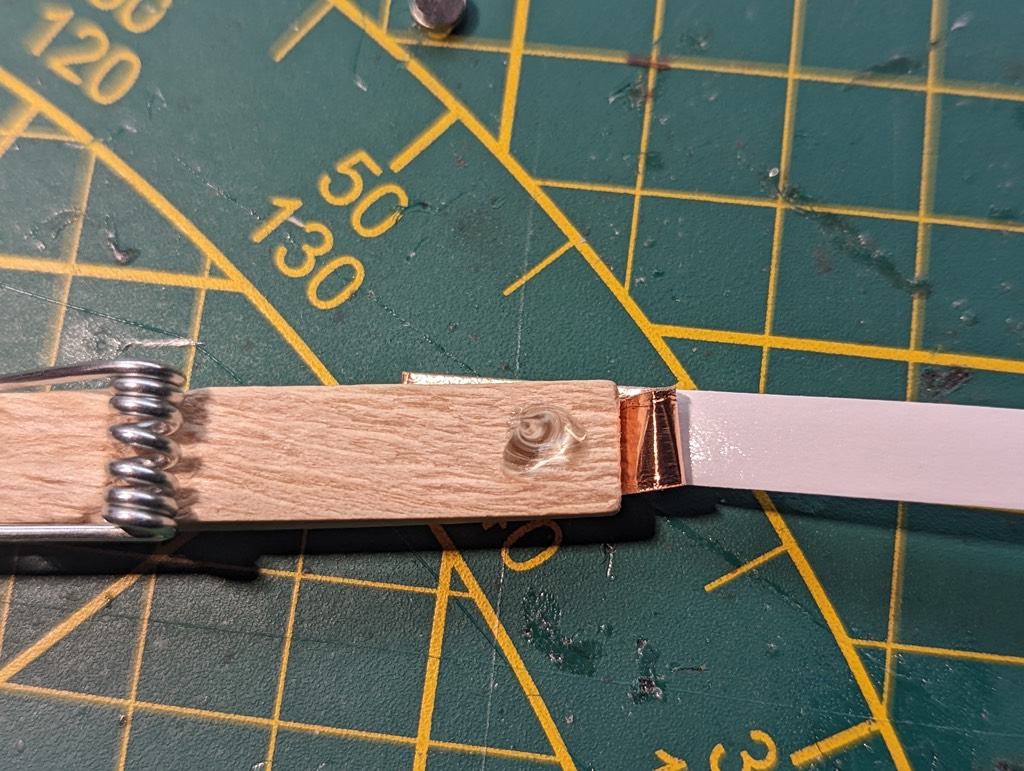
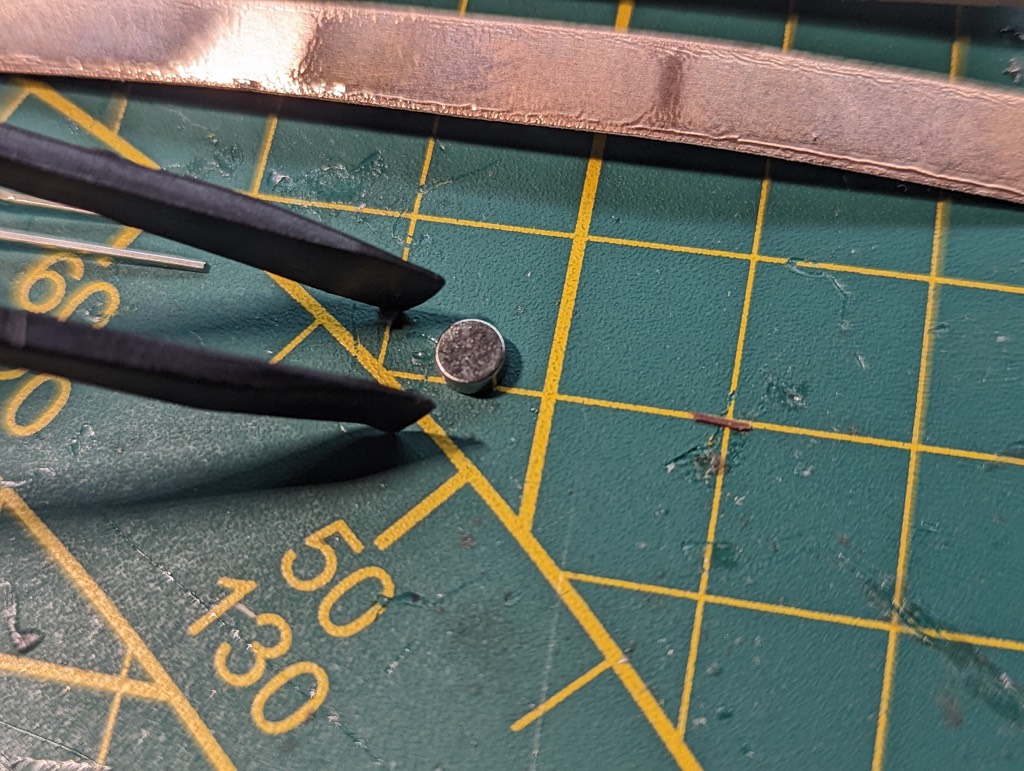
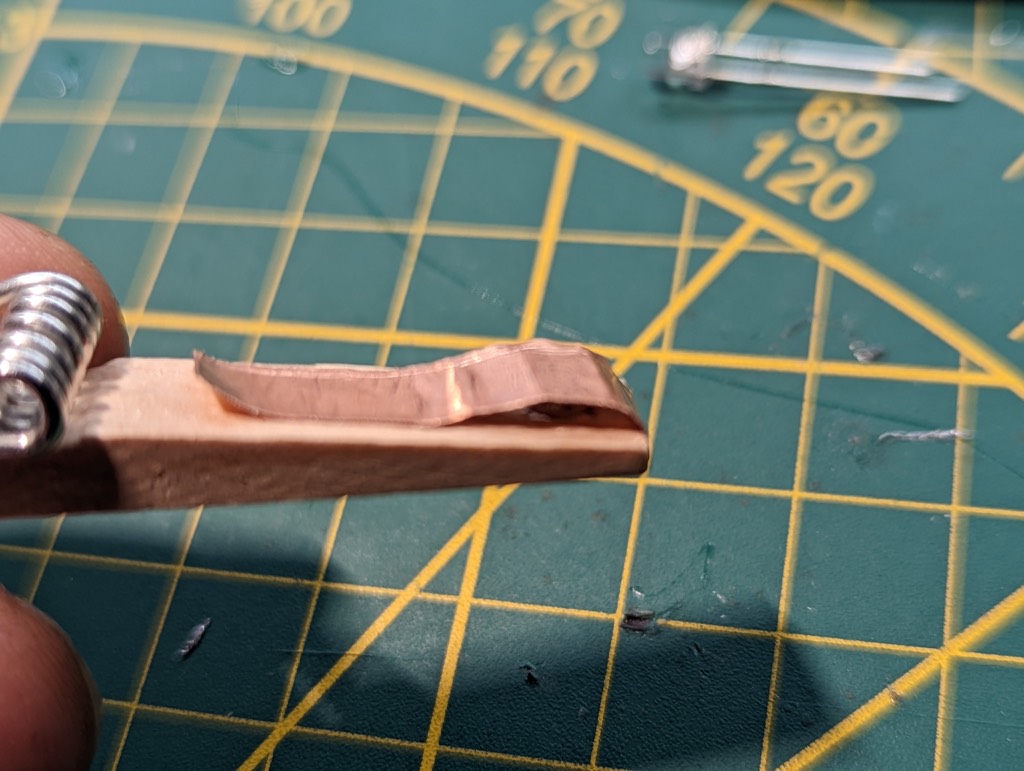
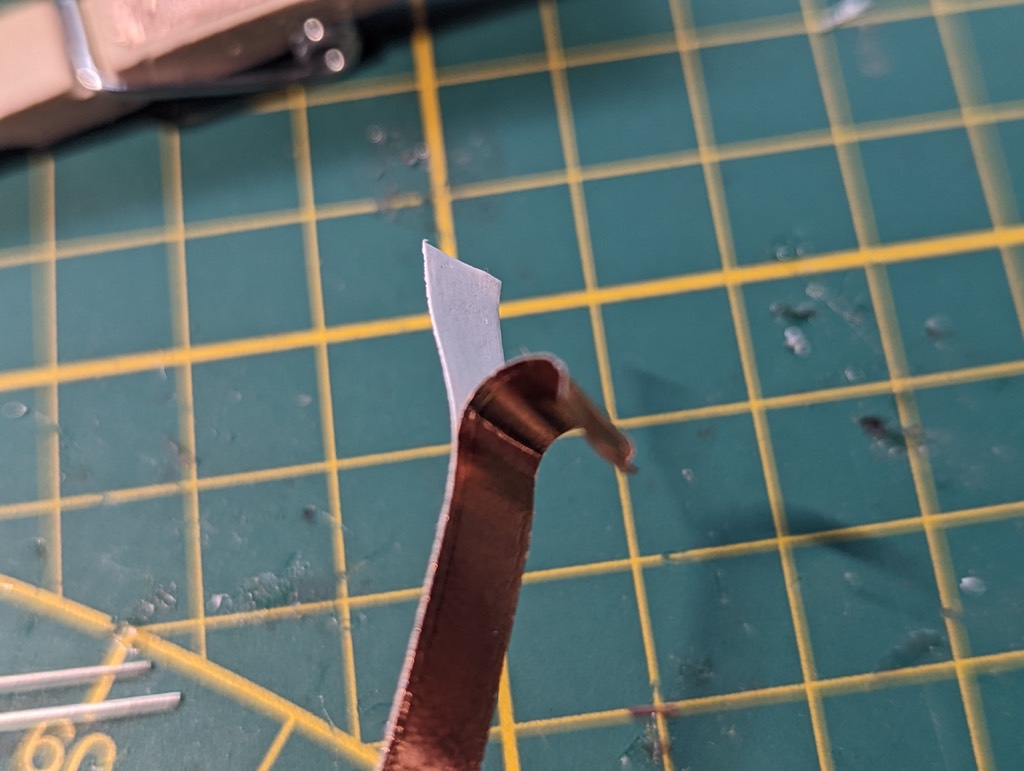
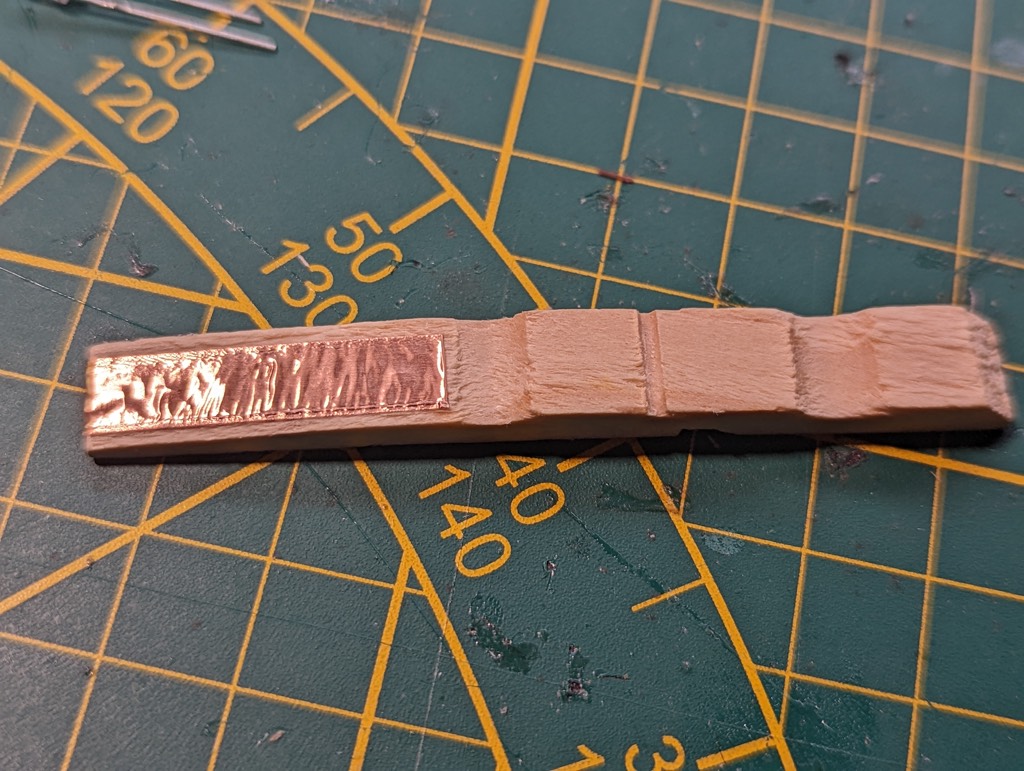
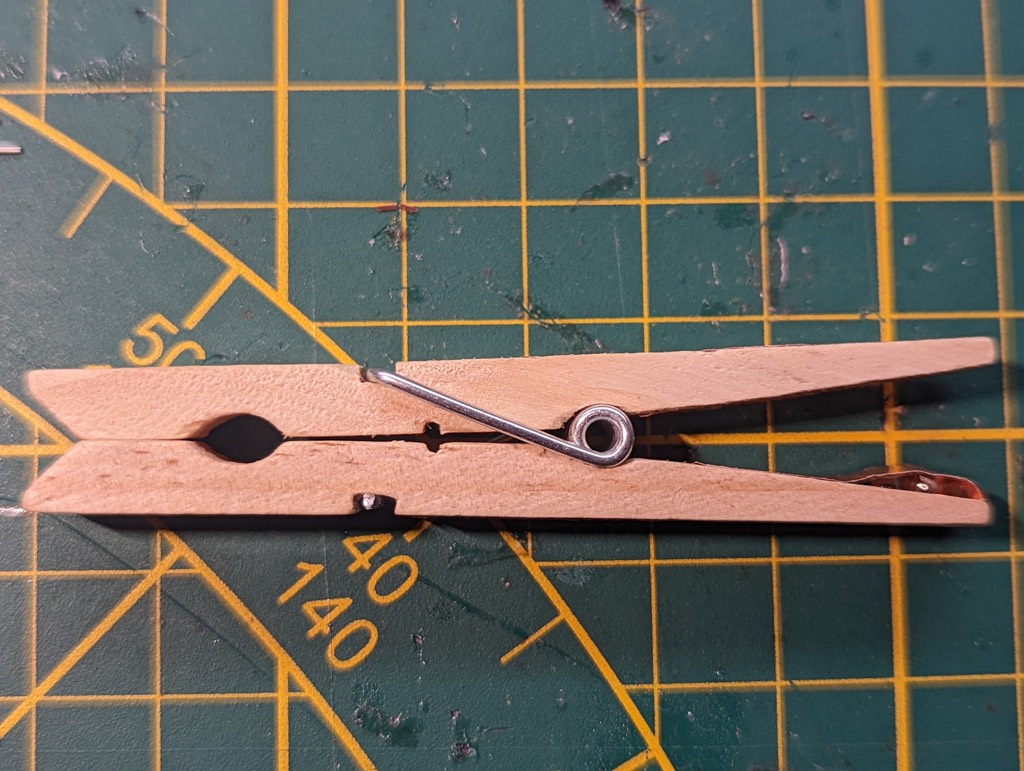
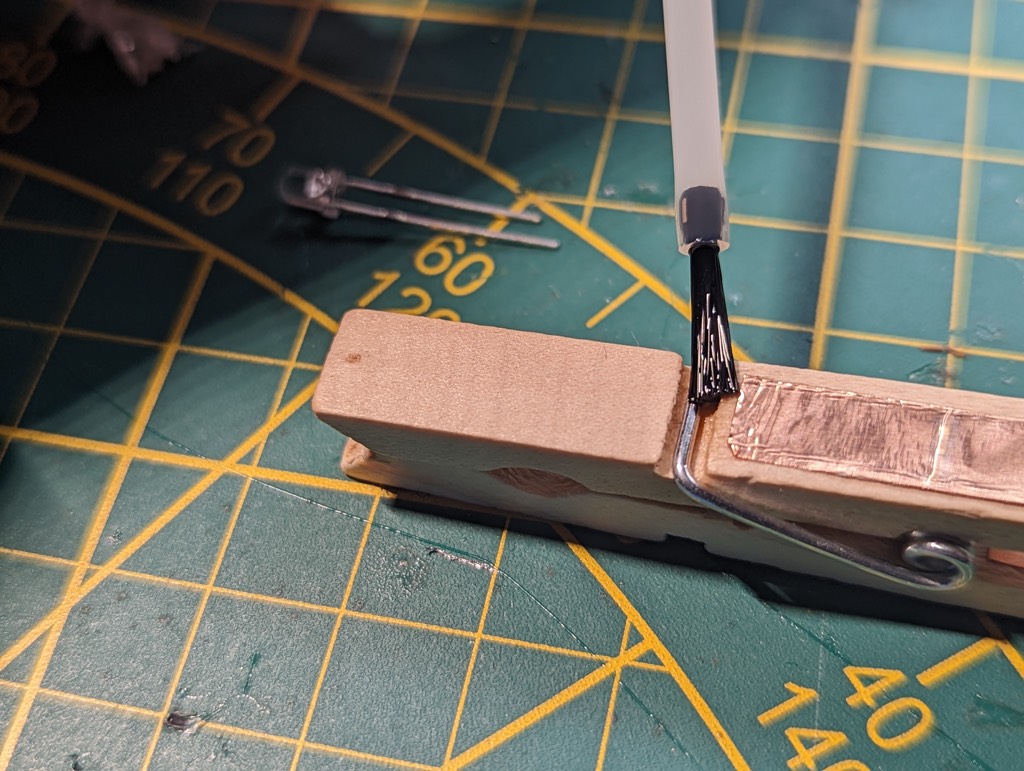
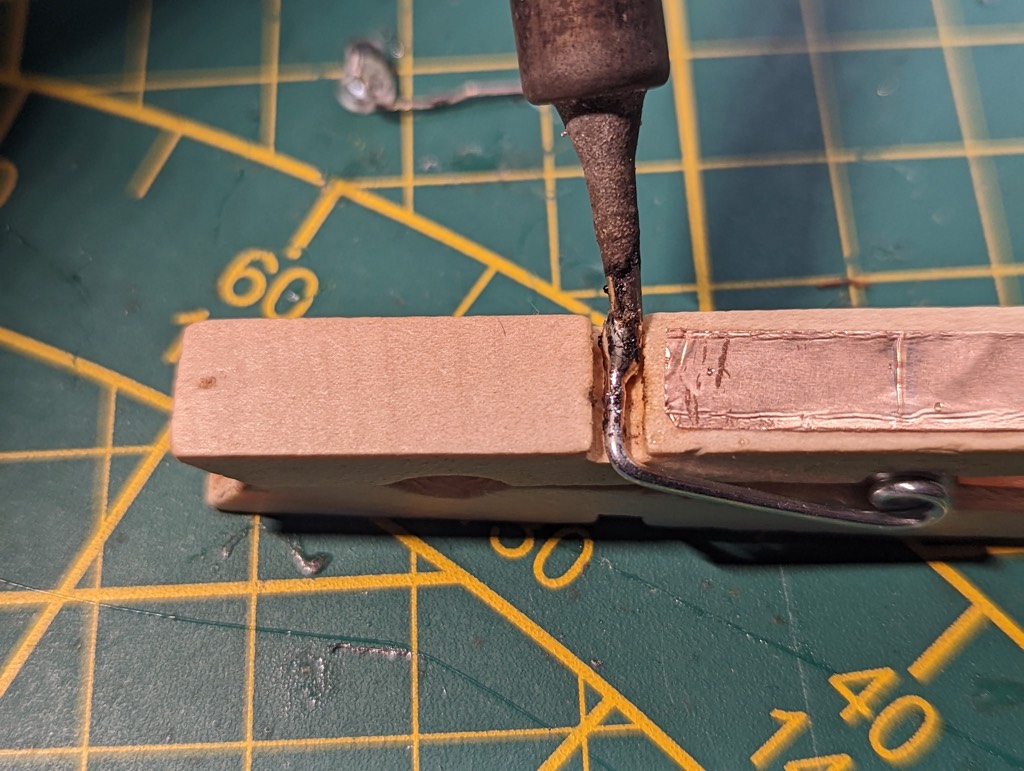
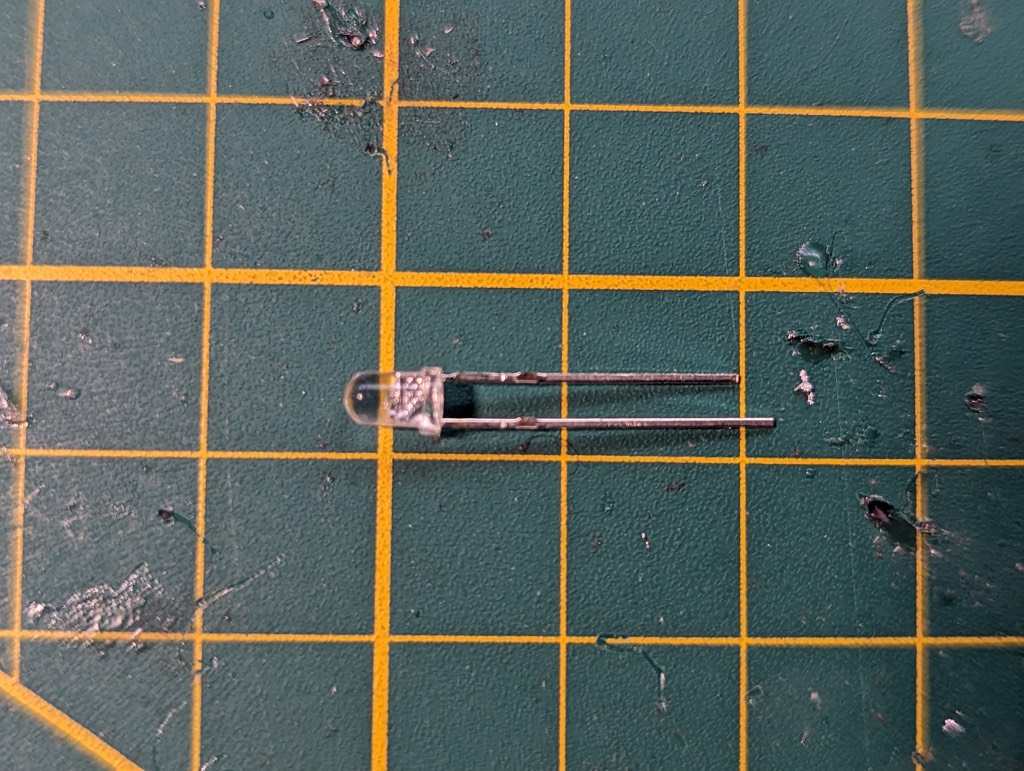
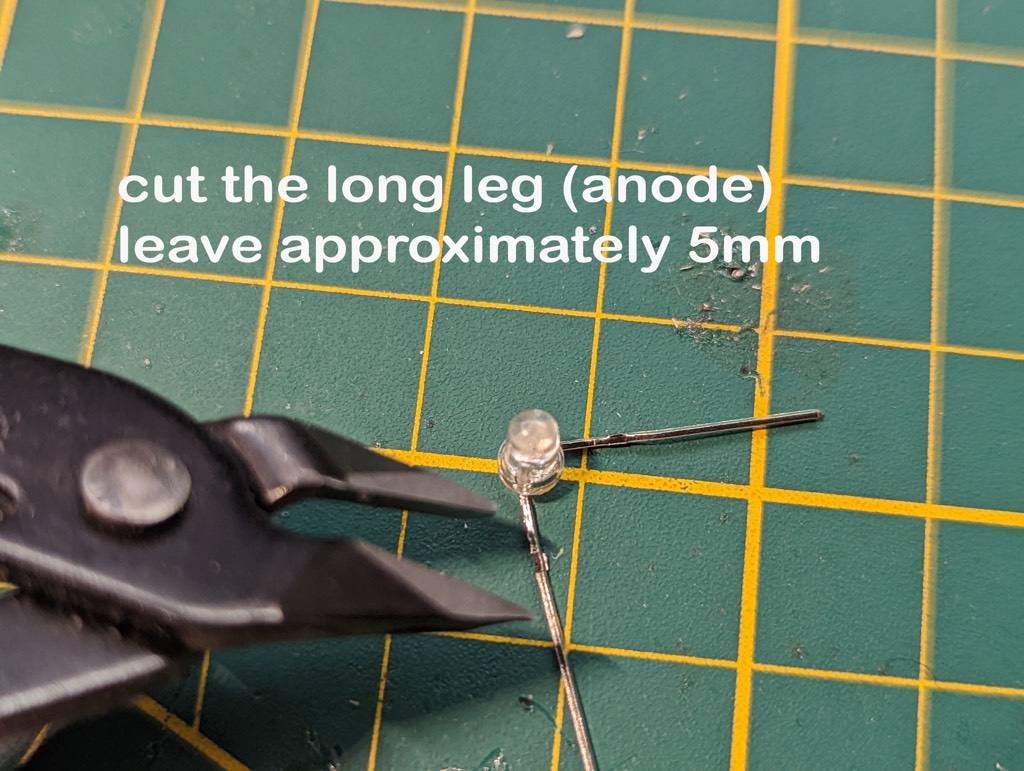
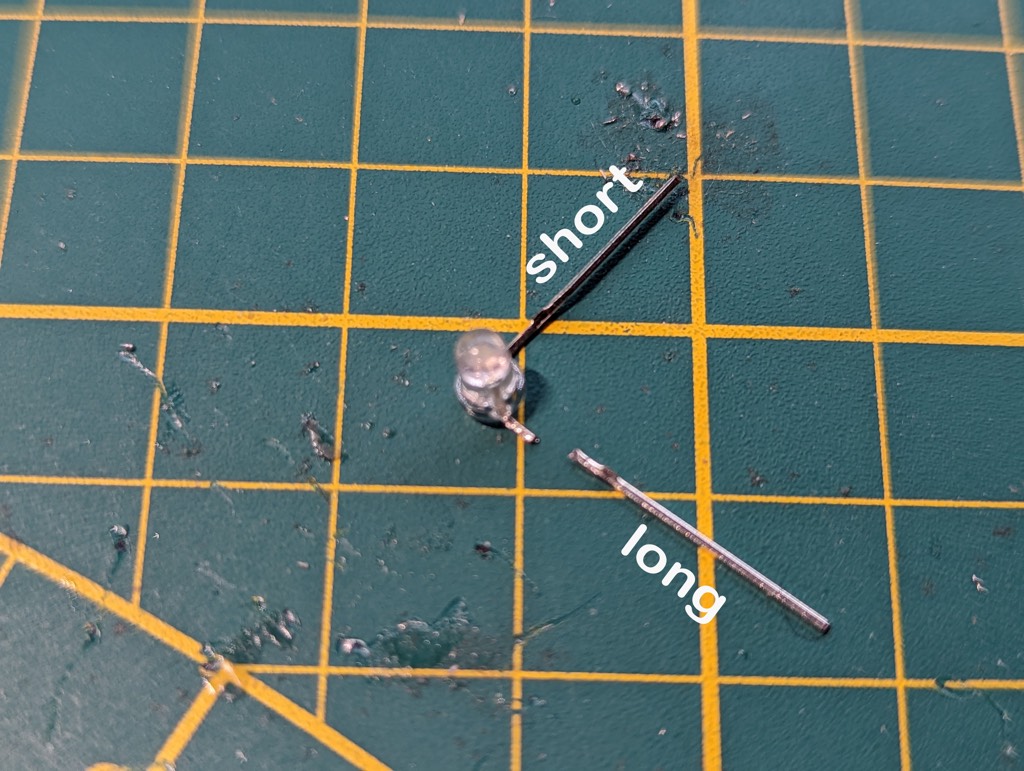
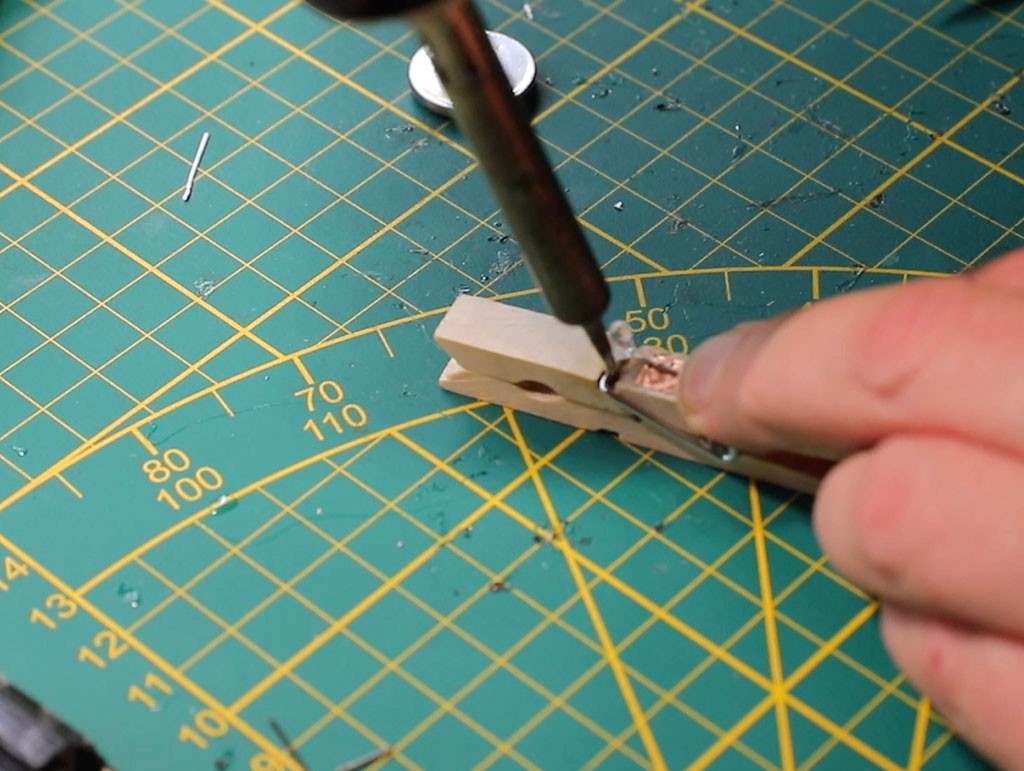
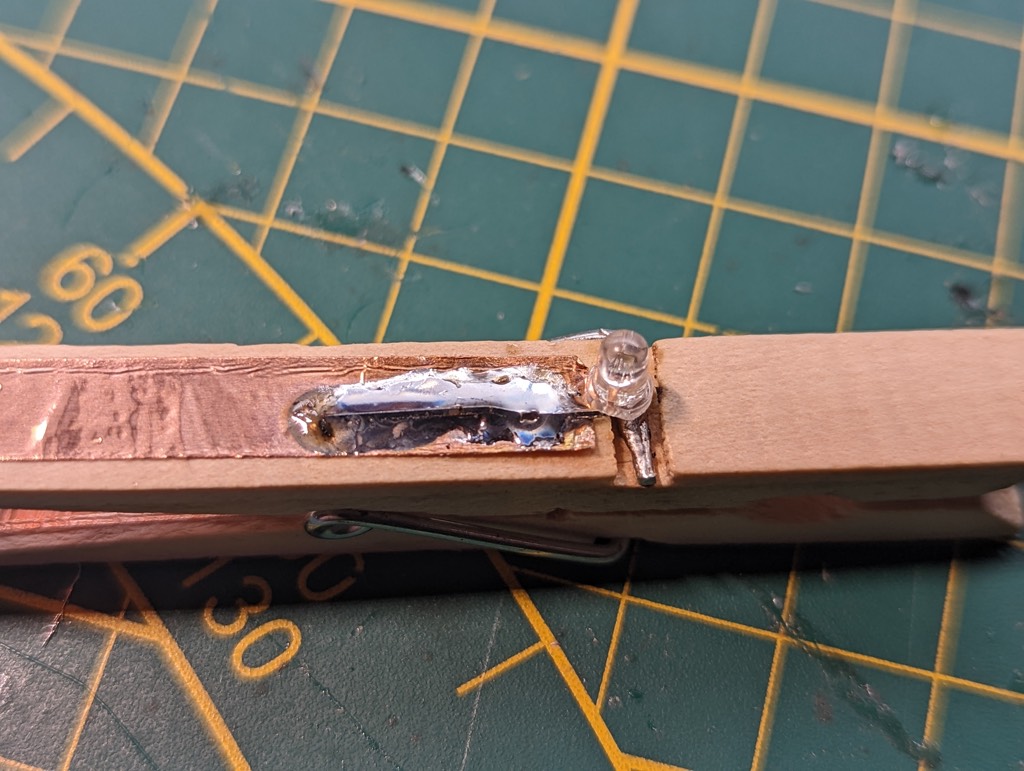
basic soldering project: Clothespin LED broochPeal of a small part of the back of the 7cm copper tapeStick the copper tape on the peg, start below the slot of the metal springStop here and turn the peg aroundAdd a dot of glue on the end of the pegResultPick up the neodymium magnet with plastic tweezersDrop it on the glueWrap the rest of the copper tape gently around the magnetPeal of the back of the 8cm copper tapeStart on the inside of the pegWrap it around to the outside, include the slotWiggle the tape a bit in the slot with a needle or small screwdriverAssemble the clothespin. Be careful not to damage the copper tape in the slot. It should look like this…and thisand this….Optional FluxApply just a bit of flux to the metal springHeat the flux and add some solderThe RGB LED has a long and short leg. Long is the anode positive + side, short is the cathode negative – side. You can check if the LED works by pushing the battery in between the legs.Bend the legs of the LED 90 degrees, use small pliersCut the the long leg, leave approximately 5mm (or half if the width of the clothespin)Result, long has become short and short became long 😉 The short leg still remains the negative side and vice versa.Solder the 5mm leg (positive anode) of the LED to the metal spring, keep the LED in the middleResultSolder the other (cathode negative) leg, to the copper tapeResultGet the button battery cr2032, check the marking for the plus sideInsert the battery, negative side to the magnet, slide through until it makes contact and the LED burns.Result.Wear it on your shirt 😉
More to follow soon…. In the meantime check my youtube channel